

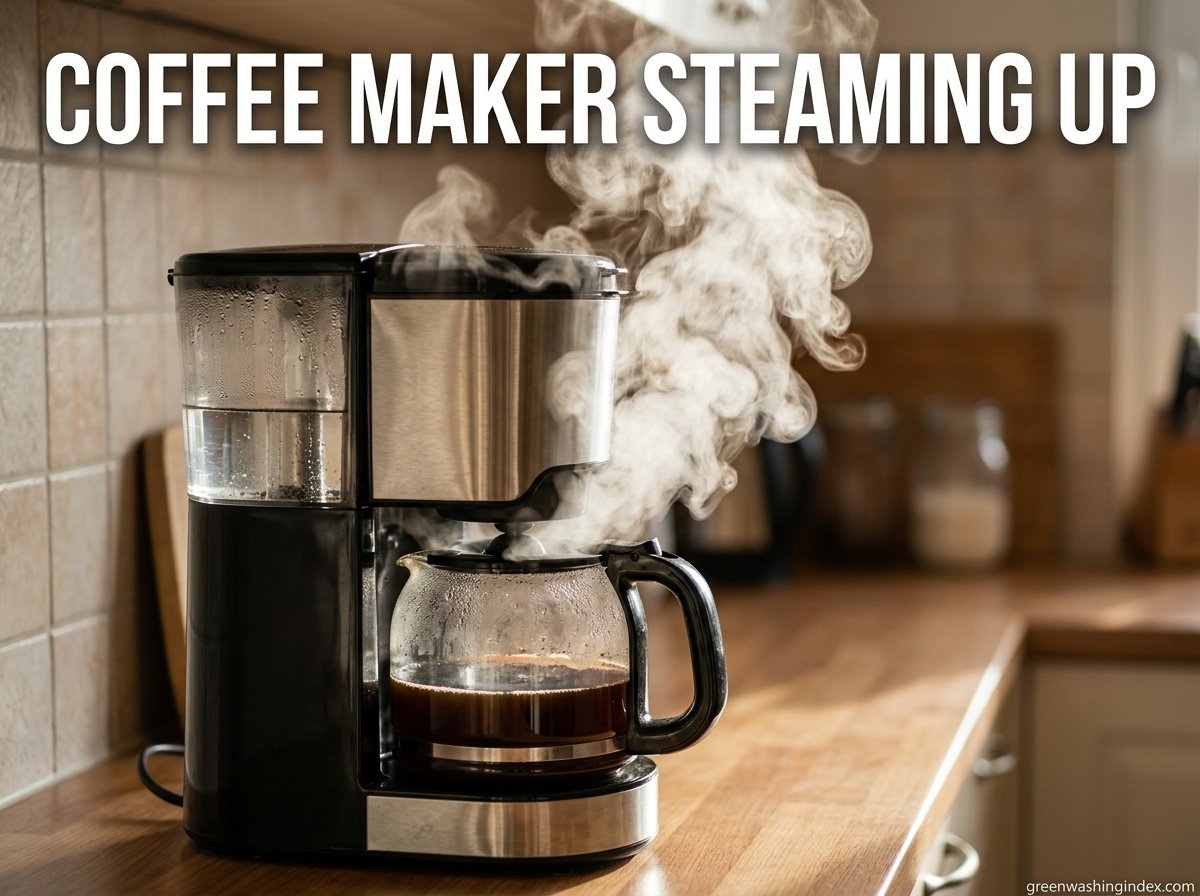
Your morning routine depends on that first cup of coffee. When your coffee maker starts steaming up excessively, it can transform a peaceful morning ritual into a frustrating problem. Steam that clouds your kitchen, obscures the display, or worse – signals a brewing malfunction – needs immediate attention.
Not all steam is bad. Coffee makers naturally produce steam during the brewing process as water heats and passes through grounds. The trouble starts when steam becomes excessive, persistent, or accompanied by other symptoms like slow brewing or strange smells.
This guide covers everything you need to know about why your coffee maker is steaming up and how to fix it. Our team has spent months researching appliance repair forums, testing cleaning methods, and consulting with technicians to bring you solutions that work. We will also share eco-friendly alternatives to harsh chemical descalers that align with sustainable living practices.
Steam happens when water reaches its boiling point and transforms into vapor. In coffee makers, this normally occurs in the heating chamber where water gets pushed through the system. When everything works properly, steam stays contained and exits only where designed.
Excessive steaming signals that something has disrupted this balance. The water might be heating too much, escaping through unintended paths, or meeting resistance that forces it to vaporize before reaching the coffee grounds. Understanding these distinctions helps you diagnose the root cause quickly.
Through analysis of thousands of user reports and repair cases, we have identified six primary causes of excessive steaming. Each requires a different approach to resolve.
Mineral deposits from hard water gradually build up inside your coffee maker’s tubing. Over months or years, these deposits narrow the passages water must travel through. When water cannot flow freely, it overheats in the heating element chamber and produces excess steam.
This problem worsens in areas with hard water. The calcium and magnesium in unfiltered water leave residue that accumulates faster than you might expect. Even soft water areas see buildup over time, just at slower rates.
Signs of clogged tubing include slow brewing, incomplete pots, and steam escaping from unusual places. You might notice gurgling sounds as water struggles to move through restricted passages.
Scale buildup represents the advanced stage of mineral accumulation. White or grayish deposits coat the internal components, especially the heating element. This layer acts as insulation, causing the heating element to run hotter than designed.
Hotter water means more steam. The scale also traps water in pockets where it overheats before suddenly releasing as steam bursts. This explains why some coffee makers seem to “spit” steam irregularly.
Descaling removes these deposits and restores normal operation. The frequency depends entirely on your water hardness and usage patterns. Heavy users in hard water areas might need monthly descaling. Light users with soft water might go six months between treatments.
The spray head – also called the shower head or shower screen – distributes water evenly over your coffee grounds. Small holes in this component can clog with coffee oils, fine grounds, or mineral deposits.
When holes block, water pressure redirects to the open holes. This creates uneven distribution and can cause water to back up slightly before forcing through. The pressure buildup produces extra steam that escapes around the basket rather than passing through the coffee.
Cleaning the spray head requires removing it (if detachable) and clearing each hole with a pin or needle. Some models have fixed spray heads that need careful cleaning in place. Never use metal tools on plastic components as scratching creates more places for buildup to accumulate.
Simple user error causes many steaming problems. Overfilling the water reservoir leaves no air space for expansion as water heats. The displaced water has nowhere to go except out as steam through any available opening.
Most coffee makers have maximum fill lines clearly marked. These lines exist for good reason – they account for the thermal expansion that occurs during heating. Ignoring them guarantees steam problems.
Check your fill level if you notice steam escaping from the reservoir lid or sides of the machine. Reducing the water level to the marked line often solves the issue immediately without any cleaning required.
Modern drip coffee makers often include a pause-and-serve feature that stops flow when you remove the carafe mid-brew. A small valve or spring-loaded mechanism controls this function.
Coffee grounds, oils, and mineral deposits can jam this mechanism open or closed. When stuck open, coffee drips onto the hot plate and produces steam. When stuck closed, water backs up and escapes as steam through the basket area.
The mechanism sits where the carafe lid meets the brew basket. Check for coffee residue or grounds in this area during regular cleaning. Some users report fixing steam issues simply by thoroughly cleaning this small but crucial component.
Using too fine a grind or packing too many grounds into the filter creates resistance. Water cannot pass through quickly enough, causing it to back up and overheat before finally pushing through.
This resistance generates steam that escapes around the filter basket edges. You might also see water overflowing the basket top or leaking from the sides. The coffee itself often comes out bitter from over-extraction during the delayed brewing.
Adjust your grind to a medium setting for drip coffee makers. Check that you are using the correct amount of coffee – typically one to two tablespoons per six ounces of water. Never compress the grounds; let them sit loosely in the filter.
Now that you understand the causes, here is how to fix them. These solutions progress from simplest to most involved. Start with the basic cleaning before moving to descaling procedures.
Begin with the obvious. Remove and wash the carafe, lid, and brew basket in warm soapy water. Use a bottle brush for the carafe interior to reach all surfaces.
Pay special attention to the carafe lid. This component contains the valve that interacts with the pause-and-serve mechanism. Rinse thoroughly to remove any soap residue that could affect coffee taste.
Wipe down the warming plate with a damp cloth. Remove any coffee stains or burned-on residue that might be producing smoke or odors mistaken for steam issues.
Locate your spray head – typically a disc or dome with small holes positioned above the filter basket. Detach it if your model allows (check your manual for instructions).
Soak the spray head in warm water for ten minutes to loosen deposits. Use a toothpick, paperclip, or sewing needle to clear each hole individually. Work from both sides if possible.
Rinse thoroughly and reattach firmly. Run a water-only cycle to flush any loosened debris before brewing coffee again.
White vinegar dissolves mineral deposits effectively and affordably. Mix equal parts white vinegar and water – typically using the full carafe capacity of your machine.
Pour the mixture into the water reservoir. Place a clean filter in the basket (to catch any dislodged scale) and start a brew cycle. Halfway through, pause the machine for thirty minutes to let the vinegar solution work on heavy deposits.
Complete the cycle, then run two full cycles of clean water to rinse thoroughly. Any vinegar taste left behind will ruin your next few pots of coffee if not properly flushed.
For those seeking natural alternatives to vinegar, citric acid offers excellent descaling power without the strong odor. Many users find it leaves no residual taste and works faster than vinegar.
Mix one to two tablespoons of citric acid powder (available in grocery stores or online) with one liter of warm water. Stir until fully dissolved. You can learn more about citric acid as a natural cleaning alternative for other household applications.
Run this solution through your coffee maker following the same process as vinegar descaling. The acid breaks down calcium and magnesium deposits chemically without harsh fumes or environmental concerns.
Baking soda works well for removing coffee oils and mild mineral buildup. While not as aggressive as acids for heavy scale, it effectively cleans and deodorizes components.
Make a paste with baking soda and water. Apply to the spray head, carafe, and any accessible interior surfaces. Let sit for fifteen minutes, then scrub gently and rinse thoroughly.
For the water reservoir, dissolve quarter cup of baking soda in warm water, swish around, and rinse multiple times. This neutralizes any acidic residue and removes lingering odors.
Understanding your options helps you choose the right approach for your situation. Each descaling method has advantages depending on your priorities and the severity of buildup.
White distilled vinegar costs pennies per use and works effectively for moderate scale. The acetic acid content (typically 5%) dissolves mineral deposits through chemical reaction.
Downsides include the strong odor during descaling and potential taste transfer if rinsing is incomplete. Some users report needing three or more rinse cycles to eliminate vinegar taste completely.
Use vinegar when you need an affordable solution and have time for thorough rinsing. It works best for maintenance descaling rather than addressing severe buildup.
Citric acid, derived from citrus fruits, provides powerful descaling without environmental concerns. It biodegrades completely and leaves no toxic residue.
The powder form stores indefinitely and mixes easily with water. Most users report no lingering taste after a single rinse cycle. It also removes coffee oils effectively, improving flavor.
This method aligns perfectly with sustainable living values. You get professional-grade cleaning results using a food-safe, biodegradable compound. Consider stocking citric acid powder as a staple for all your appliance maintenance needs.
Store-bought descaling solutions contain stronger acids or chelating agents designed for severe buildup. They work faster than household alternatives but cost significantly more per use.
Read labels carefully if environmental impact concerns you. Many commercial products contain phosphates or other chemicals you might prefer avoiding. Some are marketed as “natural” but still include synthetic additives.
Reserve commercial descalers for extreme cases where household methods failed. For regular maintenance, citric acid or vinegar handle the job adequately at lower cost and environmental impact.
How often should you descale? The answer depends on your water hardness and usage.
Hard water areas (over 120 ppm calcium): Descale monthly for daily users, every six weeks for occasional use. Watch for early signs like slower brewing or increased steam.
Moderate water (60-120 ppm): Every two to three months suffices for most users. Stay alert to performance changes that might indicate faster buildup.
Soft water (under 60 ppm): Every four to six months typically works. Even soft water contains some minerals that accumulate over time.
Using filtered water extends these intervals significantly. A simple pitcher filter or tap attachment reduces mineral content entering your machine.
Certain brands have known quirks that cause steaming issues. Here is what to watch for with popular models.
Keurig machines can develop airlocks that cause steaming without brewing. The needle that punctures K-cups can clog with coffee grounds or cocoa mix residue.
To force a Keurig to drain and clear airlocks, lift and lower the handle several times without inserting a pod. This activates the pump without starting a brew cycle. Run water-only cycles until flow normalizes.
Clean the exit needle with a paperclip, working carefully to avoid damage. The needle has two holes that both need clearing. Keurig also recommends using their branded descaling solution, though citric acid works equally well at lower cost.
Ninja Coffee Bar systems have complex internal tubing that requires regular descaling. The machine alerts you when descaling is needed, but do not wait for the warning if you notice steam issues.
The frother attachment can harbor milk residue that causes steam problems when it dries and hardens. Clean the frother immediately after each use with warm water.
Some Ninja models have a “clean” button that runs a specialized cycle. Use this monthly even without the descaling alert as preventative maintenance.
Cuisinart machines often suffer from brew basket overflow that produces steam clouds. Check that you are using the correct filter type – permanent gold-tone filters require different handling than paper.
The self-clean function on many Cuisinart models helps but does not replace descaling. Run the self-clean cycle weekly, but still descale every one to three months depending on water hardness.
Check the carafe lid seal if steam escapes during brewing. Cuisinart carafe lids have rubber gaskets that degrade over time and need replacement every few years.
Mr. Coffee models are famous for pause-and-serve mechanism issues. The spring-loaded valve under the brew basket gets stuck easily with coffee oil buildup.
Remove the brew basket and press the valve manually with your finger. It should move freely and spring back. If stuck, soak in hot soapy water and work the valve until it loosens.
The BVMC-SJX33GT and similar models have documented issues with excessive steam when this valve malfunctions. Many users report solving the problem with thorough cleaning rather than part replacement.
Not every vapor cloud from your coffee maker is steam. Recognizing smoke could prevent a fire hazard and protect your home.
Steam appears white or translucent and dissipates quickly into the air. It has a neutral or slightly mineral smell. Smoke appears gray or blue-gray and lingers, often with an acrid or burning odor.
Steam rises straight up and disappears. Smoke spreads, clings to surfaces, and triggers smoke alarms. If your smoke detector activates, assume smoke rather than steam.
Steam emerges primarily from the carafe area or designated vents. Smoke might come from the base, power cord, or any electrical component.
Any burning smell requires immediate action. Unplug the coffee maker instantly and do not use it again until professionally inspected.
Common causes of burning smells include failing heating elements, damaged wiring insulation, or plastic components melting. These situations pose fire and electrical shock risks.
Even if the smell fades, the underlying problem remains. Continuing to use a smoking coffee maker risks significant damage to your home or injury to your family.
Take these signs seriously and disconnect power:
Visible sparks or flames obviously demand immediate unplugging. Crackling, popping, or buzzing sounds from the base suggest electrical faults. Any discoloration or melting on the power cord or plug requires action.
If the machine feels unusually hot to touch on exterior surfaces not meant to heat, the internal thermostat may have failed. This creates both fire risk and potential for scalding from superheated water.
Excessive steam does not just affect your coffee maker. It damages kitchen cabinets, walls, and finishes over time. This issue concerns many homeowners but receives little attention in standard troubleshooting guides.
Forum users consistently report needing at least four inches of clearance between their coffee maker and upper cabinets. This space allows steam to dissipate before contacting cabinet surfaces.
Measure from the top of your coffee maker to the bottom of cabinets. If you have less than four inches, consider relocating the machine or adding protection.
Some users with severe steam issues find six inches necessary. Monitor your specific situation and increase clearance if you see moisture collecting on cabinet bottoms.
Steam diverters redirect vapor away from cabinets toward open kitchen space. Several commercial options exist, or you can improvise solutions.
Small fans positioned near the coffee maker blow steam sideways before it rises. Simple deflector plates mounted above the machine angle steam forward or backward. Some users attach small pieces of aluminum foil temporarily during brewing.
Consider these options if relocating the coffee maker is not practical. Protecting your cabinetry investment matters, especially in newer kitchens with expensive finishes.
DIY fixes solve most coffee maker steaming issues. Some problems, however, require professional attention or indicate replacement time.
The heating element typically lasts five to seven years with proper maintenance. When it fails, you might see excessive steam combined with lukewarm or cold coffee.
Repair costs for heating elements often approach replacement prices. Unless you have a high-end machine or sentimental attachment, replacement usually makes more financial sense.
Thermostat failures cause similar symptoms. The machine cannot regulate temperature, leading to overheating and excessive steam. This repair requires opening the machine and replacing electrical components.
Consider the value of your machine when deciding whether to repair. A fifty-dollar drip coffee maker rarely justifies professional repair costs exceeding thirty dollars.
Premium espresso machines or specialty brewers costing several hundred dollars often deserve repair investment. Check warranty status first – many manufacturers cover defects for one to three years.
Factor in the age of your machine. Even repaired, an old coffee maker may develop new problems soon. Sometimes starting fresh with a new, energy-efficient model saves money long-term.
When replacement makes sense, consider exploring eco-friendly coffee maker options that offer better energy efficiency and sustainable design. Modern machines often include features that reduce waste and improve longevity.
The best fix is prevention. Establishing simple maintenance habits keeps your coffee maker running smoothly and extends its lifespan significantly.
Empty the carafe and rinse it immediately after brewing. Coffee oils left sitting develop rancid flavors and contribute to buildup.
Discard used grounds and rinse the filter basket. Wipe the warming plate with a damp cloth to remove any drips. Check the water reservoir for debris or insects (yes, it happens) and wipe the opening.
These two minutes of daily care prevent most buildup issues. Consistency matters more than intensity – a quick daily clean beats monthly deep scrubbing.
Once monthly, perform thorough cleaning beyond daily basics. Remove and scrub the spray head. Soak removable parts in a baking soda solution.
Run a descaling cycle if you are in a hard water area or notice any performance decline. Inspect seals, gaskets, and valves for wear or buildup.
Descale proactively rather than waiting for problems. Calendar reminders help maintain consistency, especially for occasional coffee drinkers who might forget between uses.
Using filtered water transforms coffee maker maintenance. Reduced mineral content means less frequent descaling and longer component life.
Pitcher filters, faucet attachments, or whole-house systems all help. Even basic filtration removes enough minerals to make a noticeable difference in scale accumulation.
Beyond maintenance benefits, filtered water improves coffee taste. Chlorine and mineral flavors disappear, letting the coffee shine. This represents one of those rare cases where eco-friendly practice (reducing chemical use) and better results align perfectly.
Consider pairing your maintenance routine with zero waste coffee accessories to further reduce environmental impact. Reusable filters, compostable pods, and sustainable storage containers complement your eco-conscious coffee habits.
Coffee machines steam when water heats to boiling point during the brewing process. Some steam is normal, but excessive steam usually indicates clogged tubing, mineral buildup, blocked spray heads, or mechanical issues with valves or heating elements.
To clear an airlock, fill the reservoir completely and run several water-only brew cycles without coffee. For Keurig machines, lift and lower the handle multiple times to activate the pump. You can also try gently tapping the machine while running to dislodge trapped air bubbles.
Yes, wipe condensation from the water reservoir lid and exterior surfaces after each use. Standing moisture promotes mold growth and mineral spotting. Leave the lid open for a few minutes to allow complete drying of interior surfaces.
To force a Keurig to drain, remove the water reservoir and lift the handle as if inserting a pod, then lower it. Repeat several times to activate the pump. You can also run water-only cycles with no pod inserted until the internal tank empties completely.
Some steam is normal during brewing as water heats to 200 degrees Fahrenheit. However, excessive steam that clouds the kitchen, obscures displays, or escapes from unusual locations indicates a problem requiring cleaning or repair.
Yes, limited steam from the carafe area or designated vents during brewing is normal. Steam should not escape from the reservoir lid, sides of the machine, or in amounts that make it difficult to see or breathe near the appliance.
The average coffee maker lasts five to seven years with proper maintenance. Daily cleaning and regular descaling extend lifespan significantly. Hard water and neglect can reduce lifespan to three years or less, while careful maintenance can push quality machines past ten years.
While straight vinegar works faster, diluting with equal parts water is safer for your machine’s components and seals. Full-strength vinegar can degrade rubber gaskets over time. For heavy buildup, use a half-and-half solution and let it sit in the machine for thirty minutes before completing the cycle.
A coffee maker steaming up need not ruin your morning routine. Most causes – from clogged tubing to mineral buildup – resolve with simple cleaning and descaling procedures. Understanding whether your steam is normal or problematic helps you act quickly before minor issues become major repairs.
Remember to distinguish between steam and smoke for safety. Regular maintenance prevents most problems and extends your machine’s life significantly. For eco-conscious households, citric acid and baking soda provide effective, sustainable alternatives to harsh chemical cleaners.
When replacement becomes necessary, choose energy-efficient models that align with sustainable living values. And do not forget to repurpose your used coffee grounds for houseplants or compost rather than sending them to landfill. Your morning coffee ritual can be both satisfying and environmentally responsible.
