

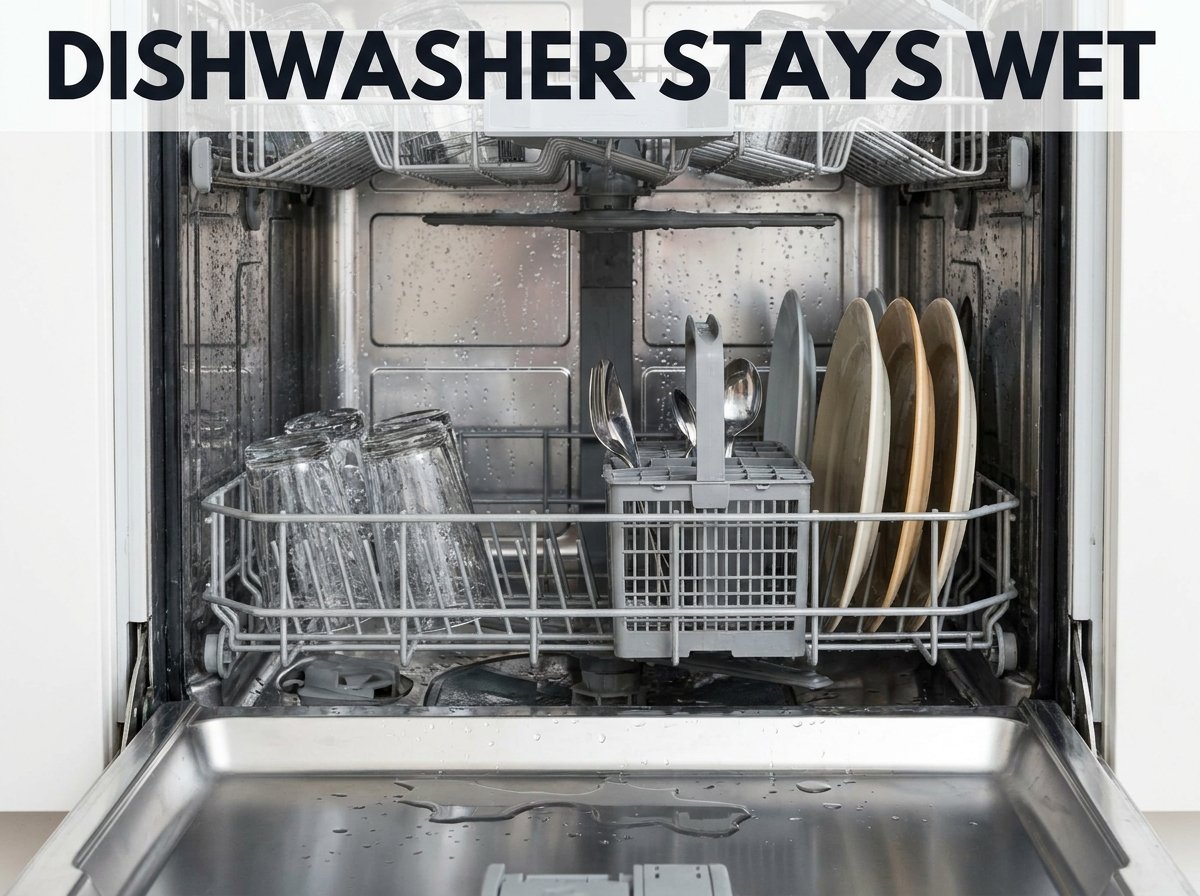
Opening your dishwasher to find the interior still dripping with water is one of those small frustrations that can derail your kitchen routine. I have been there myself, standing in front of a supposedly clean load wondering why my dishwasher stays wet inside after cycle completion. Some moisture is completely normal, but when water pools in cups or beads on every surface, something needs attention.
Most wet dishwasher issues stem from three main culprits: insufficient rinse aid, improper loading techniques, or selecting the wrong cycle settings. Understanding the difference between normal condensation and problematic moisture will help you diagnose whether you need a simple adjustment or professional repair. Our team has spent months researching dishwasher drying issues, consulting repair technicians, and testing various solutions to bring you this comprehensive troubleshooting guide.
In this article, I will walk you through why dishwashers stay wet, how to tell if your situation is normal, and exactly what steps you can take to fix it. Whether you have a brand new machine or an older model suddenly acting up, these solutions apply across all major brands including Bosch, Whirlpool, Samsung, and Frigidaire.
Yes, some condensation inside your dishwasher after a cycle is completely normal. Most modern dishwashers use either heated drying or condensation drying technology, and both methods leave varying amounts of moisture behind. Understanding what your machine uses helps set realistic expectations.
Condensation drying relies on physics rather than electricity. The stainless steel tub walls stay cooler than the hot dishes inside. As the dishes cool, water evaporates and condenses on the tub walls rather than remaining on your plates and glasses. This method saves energy but typically leaves more visible moisture inside. Heated drying uses an active heating element to evaporate water directly, resulting in a drier interior but higher energy consumption.
Plastic tubs behave differently than stainless steel ones. Plastic does not conduct heat as efficiently, so condensation tends to stay on the walls longer and evaporates more slowly. If you own a plastic-tub dishwasher, expect more interior moisture as standard operation.
Normal condensation appears as light water droplets on the walls and door, usually evaporating within a few hours if you crack the door open. Your dishes should feel mostly dry to the touch, though some items may retain minimal dampness. The water should not pool in concave surfaces like cups, bowls, or the bottoms of glasses.
Abnormal moisture manifests as standing water that remains for 24 hours or more. Dishes come out soaking wet, forcing you to towel dry before putting them away. You might notice musty odors developing, indicating mold or mildew growth from persistent dampness. If water pools in multiple containers or you see actual puddles at the bottom of the tub, you have a problem requiring intervention.
I learned this distinction the hard way when my new Bosch dishwasher arrived. For the first two weeks, I panicked every time I opened the door to a damp interior. After researching eco-friendly dishwashing practices, I discovered condensation drying simply works differently than the heated dry I was accustomed to. Once I started using rinse aid and cracking the door after cycles, the moisture became manageable.
After analyzing repair forums, manufacturer documentation, and speaking with appliance technicians, our team identified six primary causes for dishwashers that stay wet inside. Most homeowners can resolve these issues themselves without calling for professional help.
Rinse aid is not optional for proper drying performance. This liquid surfactant reduces water surface tension, allowing water to sheet off dishes rather than forming droplets. Without it, water clings to surfaces and takes significantly longer to evaporate.
Many users resist adding rinse aid because they want to avoid extra chemicals in their dishwashing routine. I completely understand this concern, which is why we researched non-toxic dishwasher tablets and eco-friendly alternatives. The reality remains that manufacturers design modern dishwashers assuming rinse aid use. Skipping it compromises drying performance regardless of your detergent choice.
Check your rinse aid dispenser setting if you are already using it. Most dishwashers have adjustable settings from 1 to 6, with higher numbers dispensing more liquid. Start at setting 3 and adjust based on results. Hard water areas typically need higher settings.
For those seeking eco-friendly rinse aid alternatives, several options exist. Citric acid-based products from zero waste cleaning brands work well for some users. White vinegar helps with spotting but should never go in the rinse aid dispenser as it damages rubber gaskets and hoses over time. Instead, add a small cup of vinegar to the bottom of the dishwasher during a cycle.
Improper loading ranks among the most common causes of wet dishes and interiors. When cups, bowls, or containers face upward, they collect wash water and never drain properly. Plastic items positioned on the bottom rack get blasted with water that then has nowhere to escape.
Always angle concave items downward so water can run out during the rinse and drain phases. Place plastics on the top rack where spray intensity is gentler. Avoid overcrowding, which prevents proper water circulation and air flow during drying cycles. Leave space between items so heat can reach all surfaces.
Nesting is another loading mistake I see constantly. When bowls or cups nest inside each other, the inner item stays wet. Similarly, placing large platters or cutting boards on the bottom rack can block spray from reaching upper items, leaving them coated in dirty water that never gets properly rinsed.
Your cycle choice dramatically impacts drying performance. Eco modes prioritize energy efficiency over drying power. Quick wash cycles often skip the heated dry phase entirely. Selecting these options and expecting bone-dry results sets you up for disappointment.
Always select the heated dry option if your dishwasher offers it. This active drying phase uses a heating element to evaporate remaining water. High-temperature wash options also improve drying because hotter dishes release moisture more readily during the cooling phase.
Many new dishwashers default to condensation drying even when heated dry is available. Check your manual to confirm you are actually using heated dry when selected. Some models require holding buttons or changing default settings to enable heated drying consistently.
When your dishwasher stops drying despite proper settings and rinse aid, the heating element may have failed. This metal rod at the bottom of the tub heats during the dry cycle to evaporate water. Over time, hard water scale, physical damage, or electrical issues can render it ineffective.
Testing a heating element requires a multimeter, a tool most homeowners do not own. Unplug the dishwasher, access the element beneath the lower rack, and test for continuity. No continuity means the element needs replacement. A functioning element should show resistance between 10 and 40 ohms depending on your model.
The high-limit thermostat protects against overheating by cutting power to the heating element. If this small component fails, your heating element receives no electricity even if the element itself works fine. Replacing a thermostat is significantly cheaper than replacing the entire element.
Professional replacement of a heating element typically costs between $150 and $300 including labor. DIY replacement brings that down to $50-$100 for the part alone. Consider the age of your dishwasher when deciding. Units over 8 years old approaching the end of their quiet dishwasher models lifespan may not warrant expensive repairs.
Proper ventilation releases moist air during and after the drying cycle. Many dishwashers include a vent that opens during drying to let humid air escape. If this vent sticks closed due to debris, corrosion, or mechanical failure, moisture remains trapped inside.
The door seal or gasket creates an airtight closure during washing. If damaged, cracked, or improperly seated, humid air leaks out prematurely while cool air enters. This temperature disruption prevents proper condensation drying. Inspect your door gasket for tears, hardening, or food debris that prevents proper sealing.
Some newer models feature auto door-opening mechanisms that pop the door ajar after cycles to improve ventilation. If your dishwasher has this feature, ensure nothing blocks the door from opening slightly. A heavy load or misplaced item can prevent this automatic ventilation from working.
Your dishwasher needs hot water to clean and dry effectively. If your water heater supplies insufficiently hot water, dishes never reach temperatures that promote rapid evaporation. Most dishwashers require water entering at 120°F minimum for optimal performance.
Hard water creates a double problem for drying. Mineral deposits form on the heating element, reducing its efficiency. The same deposits on dishes create nucleation points where water droplets cling rather than sheeting off. Over time, glassware develops a cloudy film that attracts and holds moisture.
Consider a water softener if you have very hard water. At minimum, use dishwasher cleaner monthly to descale internal components. Products like Affresh or citric acid treatments remove buildup that interferes with heating and water flow. This simple maintenance significantly improves drying performance in hard water areas.
Now that you understand the causes, here is a systematic approach to fixing wet interior issues. Start with the simplest solutions before progressing to more involved troubleshooting.
Try these immediate solutions before investigating mechanical issues. They resolve the majority of wet dishwasher problems without tools or expense.
Fill your rinse aid dispenser completely and set it to at least level 3. Select the heated dry option on your next cycle. Rearrange any items that collect water, angling cups and bowls downward. Crack the door open for two hours after the cycle completes to allow natural evaporation. Run the hot water at your kitchen sink until it flows hot before starting the dishwasher.
If quick fixes do not resolve the issue, follow this diagnostic sequence to identify the root cause.
Step 1: Verify your water temperature. Place a glass in the bottom rack and run a normal cycle. Immediately after completion, carefully touch the glass. If it feels cool or lukewarm, your water heater setting or inlet valve may need attention.
Step 2: Inspect the heating element. Look for visible damage like blistering, cracks, or heavy scale buildup. A healthy element appears smooth and intact. Heavy white or brown deposits indicate hard water damage affecting performance.
Step 3: Check the door seal. Run your hand along the rubber gasket feeling for cracks, tears, or flattened sections. Clean any debris stuck to the seal. Close the door and examine the gap between door and tub for consistent contact all around.
Step 4: Test the vent mechanism. Listen during the dry cycle for sounds of a vent opening. Some models click or whir when the vent activates. After the cycle, feel around the door or sides for warm, moist air indicating ventilation occurred.
Step 5: Examine your filter and drain. A clogged filter forces the dishwasher to recirculate dirty water, leaving more moisture and residue. Remove and clean the filter according to your manual. Check that the drain hose has no kinks or blockages.
Some issues require professional diagnosis and repair. Call a technician if you suspect heating element failure, high-limit thermostat issues, or control board malfunctions. Electrical testing requires specialized tools and knowledge for safety. Multiple failed components often indicate it is time for replacement rather than repair.
Appliance repair typically costs $100-$200 for the service call plus parts and labor. For dishwashers over 7 years old with multiple issues, replacement often makes more financial sense. Modern countertop dishwashers offer options for small spaces if a full replacement is not feasible.
Different manufacturers approach drying differently. Understanding your brand’s design helps set expectations and troubleshoot effectively.
Bosch dishwashers use condensation drying exclusively on most models. They do not have heating elements for drying. This design choice prioritizes energy efficiency but requires proper rinse aid use and realistic expectations. Bosch owners report that leaving the door ajar overnight produces completely dry results. The AutoAir Dry feature on some models automatically pops the door open after cycles.
Whirlpool and KitchenAid typically use heated drying as standard. If your Whirlpool stays wet, check that you have actually selected heated dry and that the rinse aid dispenser is functioning. These brands sometimes have adjustable heat settings in the control panel that users accidentally change.
Samsung and LG dishwashers often include hybrid systems with both heated dry and condensation assistance. Their steam features can sometimes leave extra moisture if not properly vented. Check for clogged steam vents if you notice excessive dampness after steam cycles.
Miele dishwashers use advanced condensation drying with optional heated assist on higher-end models. They require specific Miele rinse aid formulas for optimal results. Generic rinse aids sometimes perform poorly in these precision-engineered machines.
Preventing moisture buildup is easier than solving it after it develops. These habits keep your dishwasher interior dry and prevent mold, mildew, and odors.
Make rinse aid a non-negotiable part of your dishwashing routine. Check the dispenser monthly and refill when the indicator shows low. Keep the dispenser setting appropriate for your water hardness. Remember that non-toxic dishwasher detergent works best when paired with proper rinse aid regardless of marketing claims.
Develop consistent loading habits. Angle all concave items downward. Place plastics on the top rack. Avoid nesting and overcrowding. Take an extra 30 seconds to position items correctly rather than rushing through loading.
Crack the door after every cycle. This simple habit allows natural ventilation and prevents moisture from stagnating. If your dishwasher has an auto-open feature, ensure it functions properly and is not blocked by cabinetry or dishes.
Run a cleaning cycle monthly. Use manufacturer-recommended cleaner or a natural citric acid treatment to remove scale and buildup. Clean the filter weekly to prevent drainage issues that contribute to moisture retention.
Monitor for mold and mildew. If your dishwasher consistently stays wet, inspect hidden areas like the door seal folds and filter housing for black or pink growth. Clean these areas with a baking soda paste or hydrogen peroxide solution to prevent health issues from mold exposure.
Your dishwasher stays wet due to condensation from the drying process, insufficient rinse aid, or improper cycle selection. Some moisture is normal, especially with condensation-drying models like Bosch. Excessive wetness indicates issues with loading, rinse aid levels, heating element function, or ventilation.
Use rinse aid consistently, select heated dry cycles, load items angled downward to prevent water pooling, crack the door open for 2 hours after cycles complete, and ensure your water heater supplies at least 120°F water. These steps significantly reduce condensation buildup.
First check your rinse aid dispenser and fill it completely. Select heated dry option for your next cycle. Rearrange items so concave surfaces angle downward. If problems persist, inspect the heating element for damage, test water temperature, check the door seal, and verify the vent opens properly during drying.
If drying fails despite rinse aid use, suspect heating element failure, high-limit thermostat issues, or control board problems. Check that heated dry is actually engaging by feeling for heat during the dry cycle. Test water temperature entering the dishwasher. Inspect door seals and ventilation for blockages.
No, never put vinegar in the rinse aid dispenser. Vinegar is acidic and damages rubber gaskets, seals, and hoses over time. Manufacturers explicitly warn against this practice. Instead, add vinegar to a cup on the top rack during a cycle, or use citric acid-based rinse aid alternatives designed for dispensers.
Excessive rinse aid consumption usually indicates a dispenser setting too high or a leak in the dispenser mechanism. Check your setting and reduce it to 3 or lower. If consumption remains high with correct settings, the dispenser may have a crack or failed seal requiring replacement.
A dishwasher stays wet for many reasons, but most are easily fixed without professional help. Start with the basics: fill your rinse aid, load items properly, select heated dry, and crack the door after cycles. These four habits solve the majority of moisture issues across all brands and models.
If basic adjustments do not help, systematically check your heating element, water temperature, door seals, and ventilation components. Know when to call a professional for electrical or complex mechanical issues. With proper care and maintenance, your dishwasher should provide dry dishes and a reasonably dry interior for years to come.
For more tips on sustainable kitchen practices, explore our guides on eco-friendly dishwashing and non-toxic cleaning supplies to keep your home safe and efficient.
