

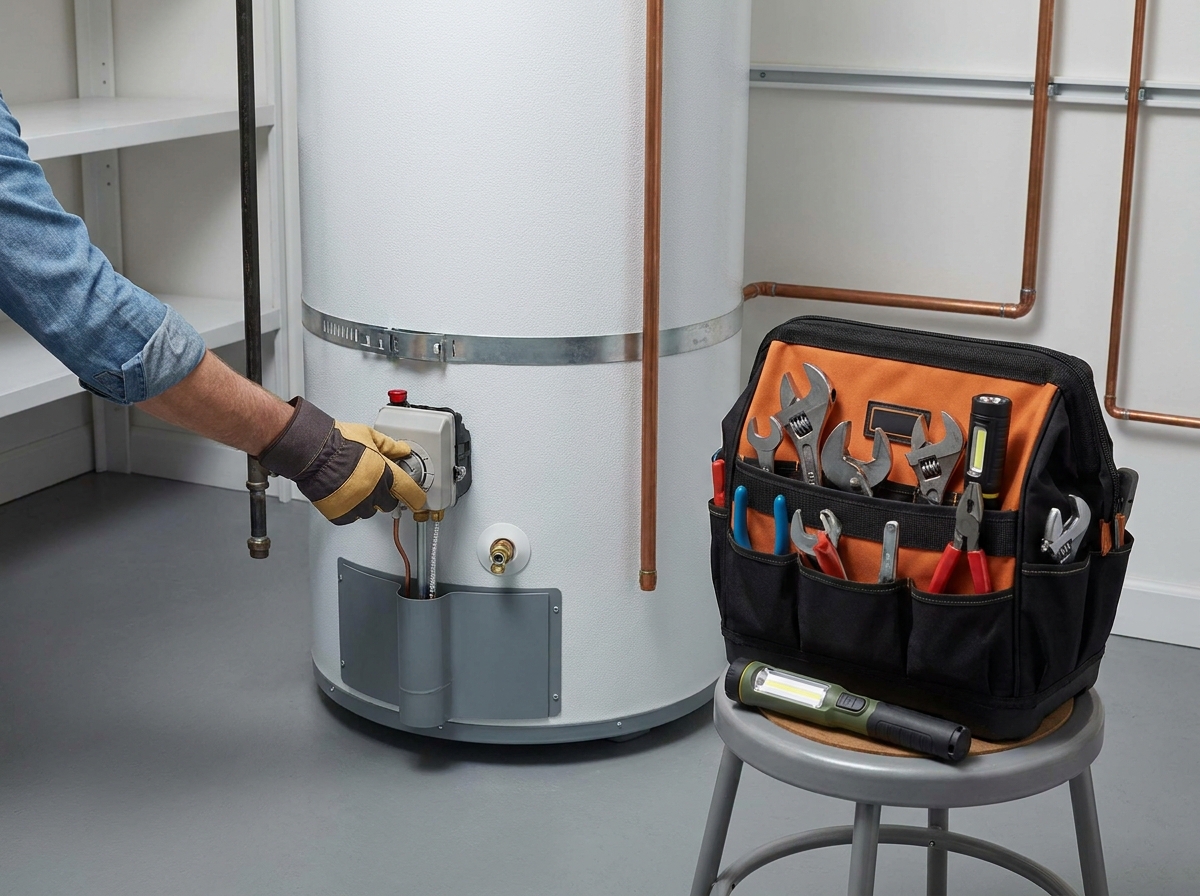
Nothing ruins a morning faster than stepping into an ice-cold shower when you expected hot water. I have been there myself, and I know how frustrating it can be when your water heater is not heating properly. In this guide, I will walk you through everything I have learned over years of troubleshooting water heaters, both as a homeowner and from speaking with licensed plumbers.
You do not need to be an expert to diagnose most water heater problems. Many common issues have simple fixes you can handle yourself, and even the more complex ones are easier to understand once you know what to look for. I will cover both electric and gas water heaters, explain the warning signs that mean you should call a professional, and help you decide whether repair or replacement makes more sense for your situation.
Before we start, I want to emphasize safety. Water heaters involve either 240-volt electricity or combustible gas, neither of which should be taken lightly. I will point out the specific safety precautions throughout this guide, and I will be clear about which repairs are DIY-friendly and which require a licensed technician.
When your water heater stops heating, you want answers fast. Here is the same diagnostic checklist I use when I get that first call about no hot water.
If you have gone through this checklist and still have no hot water, keep reading. Each of these steps has nuances that I will explain in detail below.
Before you can fix your water heater, you need to know what type you have. This determines which troubleshooting steps apply to your situation.
Electric water heaters are the most common type in modern homes. They use one or two electric heating elements inside the tank, similar to the coils in an electric stove. These elements heat the water through electrical resistance. Understanding how water heaters work helps tremendously when diagnosing problems.
Gas water heaters use a burner assembly at the bottom of the tank. A pilot light (or electronic ignition) ignites the gas burner when the thermostat calls for heat. These units have different failure modes than electric models.
Look at the top of your unit to identify it quickly. Electric units have electrical conduits entering the top. Gas units have a gas line and a vent pipe. Tankless units look like small boxes mounted on the wall.
The first thing to check when your electric water heater is not heating is always the power supply. I cannot count how many service calls could have been avoided by simply checking the breaker.
Head to your electrical panel and look for a double-pole breaker labeled for your water heater. Water heaters require 240 volts, which means they use a double-width breaker, usually 30 amps. If the breaker is in the middle position or clearly marked as tripped, flip it fully off, then back on.
Here is something I learned from a master electrician: if the breaker trips again immediately, stop and call a professional. This indicates a short circuit or ground fault that could be dangerous to investigate yourself. A breaker that trips after running for a while usually points to a failing heating element.
If your breaker is fine but you suspect power issues, you can test the voltage at the water heater. This requires a multimeter and comfort working with live electrical circuits. I will explain the multimeter testing procedure later in this guide.
For gas water heater issues, power problems look different. Check that the gas valve is turned to the “On” position. If you have an electronic ignition model, ensure the unit is plugged in or has good batteries in the ignition system.
The reset button is one of the most underutilized fixes for a water heater not heating. I have personally resolved heating issues dozens of times by simply finding and pressing this button.
On electric water heaters, the reset button (technically called the Energy Cutoff or ECO switch) is a red button located on the upper thermostat. It is hidden behind an access panel on the side of the tank, usually near the top. You may need to remove insulation to see it clearly.
Step 1: Turn off power at the circuit breaker. Never work on an electric water heater with the power on.
Step 2: Remove the access panel covering the upper thermostat. This usually requires a flathead screwdriver to pop off the cover.
Step 3: Carefully move aside any insulation to reveal the thermostat and reset button. The red button should be clearly visible.
Step 4: Press the red reset button firmly until you hear or feel it click. This indicates it has been reset.
Step 5: Replace the insulation and access panel, then restore power at the breaker.
Step 6: Wait 30-60 minutes for the water to heat, then test a hot water faucet.
If the reset button trips again within hours or days, you have an underlying issue. Common causes include a faulty thermostat, a shorted heating element, or sediment buildup causing the elements to overheat.
The thermostat is the brain of your water heater. It monitors water temperature and signals the heating elements or gas burner to turn on when needed. When it fails, your water heater either stops heating entirely or produces inconsistent temperatures.
Most electric water heaters have two thermostats: an upper thermostat and a lower thermostat. Each controls one heating element. Understanding how they work together helps you diagnose problems faster.
The upper thermostat acts as the master controller. When cold water enters the tank, the upper thermostat activates the upper element first to heat the water at the top of the tank where it will be drawn for use. Once the upper portion reaches the set temperature, the upper thermostat switches power to the lower thermostat, which then heats the rest of the tank.
If you have lukewarm water but not truly hot water, the upper element or upper thermostat is usually the culprit. If you get hot water that runs out quickly, the lower element or lower thermostat is likely failing.
The recommended temperature setting is 120 degrees Fahrenheit. This prevents scalding while still providing hot enough water for most household needs. To adjust, remove the access panel and use a flathead screwdriver to turn the dial on the thermostat.
I never recommend setting your water heater above 140 degrees. Not only does this waste energy and increase your utility bills, but it also poses a serious scalding risk, especially for children and elderly family members.
Heating elements are the workhorses of electric water heaters. They are essentially large resistors that convert electrical energy into heat. Over time, they can fail due to age, sediment buildup, or electrical shorts.
No hot water at all: Usually indicates the upper element has failed. Without the upper element working, the upper thermostat never switches power to the lower element.
Hot water runs out quickly: Typically means the lower element has failed. The upper element heats the top of the tank, but without the lower element, you only have a small amount of hot water before it runs cold.
Strange noises: A failing element can cause popping or hissing sounds as water seeps into the element’s interior and boils.
Tripped breaker: A shorted element will often trip the circuit breaker repeatedly.
A multimeter is the only reliable way to test a heating element. You can buy a basic multimeter for under $20 at any hardware store, and it is an essential tool for any homeowner.
Step 1: Turn off power to the water heater at the circuit breaker. This is absolutely critical for safety.
Step 2: Remove the access panel and insulation to expose the element and its wiring.
Step 3: Disconnect the wires from the heating element terminals.
Step 4: Set your multimeter to measure resistance (ohms).
Step 5: Touch one probe to each screw terminal on the heating element.
A good heating element should read between 10 and 16 ohms. Most standard elements read around 12-13 ohms. If you get a reading of zero (or very close to zero), the element has shorted internally and must be replaced. If you get no reading at all (infinite resistance), the element has an open circuit and is also failed.
While you have the multimeter connected, touch one probe to a terminal and the other to the metal tank or a bare metal surface on the element flange. Any reading here indicates the element is grounded, which means it has developed a crack and is leaking electricity. This is a fire hazard and requires immediate replacement.
I learned this testing procedure from a Reddit discussion where a licensed plumber explained that a multimeter is the only way to truly know if your element is bad. Visual inspection is not reliable because a failed element often looks identical to a good one.
Sediment in water heater tanks is one of the most common causes of heating problems, especially in areas with hard water. Over time, minerals from your water supply settle at the bottom of the tank, forming a layer of sediment that can cause multiple issues.
The popping or rumbling sounds you hear coming from your water heater are usually caused by water trapped beneath the sediment layer boiling and bubbling. This is not just annoying, it is inefficient. The sediment acts as an insulator, forcing the heating element or burner to work harder and longer to heat the water, which increases your energy bills and shortens the unit’s lifespan.
In severe cases, sediment can bury the lower heating element in an electric water heater, causing it to overheat and fail prematurely. It can also block the drain valve, making maintenance more difficult.
Flushing your water heater annually is the best way to prevent sediment-related problems. Here is how I do it:
Step 1: Turn off the power (electric) or set the gas valve to pilot (gas).
Step 2: Connect a garden hose to the drain valve at the bottom of the tank. Run the other end to a floor drain or outside.
Step 3: Open a hot water faucet in your house. This prevents a vacuum from forming in the tank.
Step 4: Open the drain valve and let the tank empty completely. The water will likely be cloudy or discolored at first, especially if you have never flushed the tank.
Step 5: Once empty, briefly open the cold water supply to stir up remaining sediment, then drain again.
Step 6: Close the drain valve, remove the hose, and restore power or gas.
If you have never flushed your water heater and it is more than five years old, I recommend calling a professional. The drain valve may be clogged with sediment, and attempting to force it open could cause leaks.
Gas water heater troubleshooting involves different components than electric units. While you avoid electrical hazards, you must be vigilant about gas safety.
The most common gas water heater issue is a pilot light that will not stay lit or has gone out entirely. If you have no hot water and your unit uses a standing pilot, checking the flame is always my first step.
Modern water heaters have specific relighting procedures printed on a label near the gas control valve. Always follow these instructions exactly. Generally, you will turn the gas control knob to “Pilot,” press and hold it down while igniting the pilot, then continue holding for about a minute before releasing.
If the pilot lights but goes out when you release the knob, the thermocouple is likely the problem. The thermocouple is a safety device that detects whether the pilot flame is present. If it senses no flame, it shuts off the gas supply to prevent leaks. A dirty or failing thermocouple cannot detect the pilot flame properly, causing it to shut off the gas even when the pilot is lit.
Cleaning or replacing a thermocouple is a manageable DIY repair for most homeowners. The part costs around $15-25, and installation requires only basic hand tools.
If the pilot stays lit but the burner does not ignite when the thermostat calls for heat, the problem may be in the gas control valve or burner assembly. Soot buildup on the burner can prevent proper combustion, and spider webs or debris in the burner tube can restrict gas flow.
Gas repairs beyond cleaning the burner or replacing the thermocouple should be left to professionals. Working on gas lines without proper training creates serious safety risks, including fire, explosion, and carbon monoxide poisoning.
Tankless water heaters, also called on-demand heaters, work differently than tank units. When a tankless water heater is not heating, the troubleshooting steps are unique to this technology.
The most common complaint with tankless units is the “cold water sandwich.” This happens when you turn on the hot water, get hot water immediately from residual heat in the pipes, then get a burst of cold water while the unit ignites and heats, followed by hot water again. This is normal operation for most tankless units, though some high-end models have buffer tanks to prevent it.
Error codes are your friend with tankless water heaters. Most units display a digital code when something is wrong. Check your owner’s manual or the manufacturer’s website to decode these errors. Common codes indicate ignition failure, exhaust blockage, or insufficient gas pressure.
Flow rate issues are another unique problem. Tankless heaters require a minimum flow rate to activate. If you are using a low-flow faucet or have partially closed valves, the unit may not heat the water because it does not detect enough flow to turn on.
If you are considering a tankless upgrade, read my comparison of tankless vs tank water heater systems to understand the trade-offs.
One of the hardest decisions homeowners face is whether to repair an aging water heater or replace it entirely. I have been there myself, staring at a repair quote and wondering if I am throwing good money after bad.
The age of your water heater is the primary factor. Most tank water heaters last 8-12 years. If yours is over 10 years old and needs a major repair like a new heating element or gas control valve, replacement is usually the smarter financial decision. You do not want to pay $400 for a repair only to need a full replacement in two years.
Here is my personal rule of thumb: if the repair cost exceeds 50% of the cost of a new unit, and your water heater is more than seven years old, replace it. This formula has served me well over the years.
Energy efficiency is another consideration, especially if you are environmentally conscious. Older water heaters are significantly less efficient than modern models. A new unit could save you 10-20% on your water heating costs. For maximum efficiency, consider energy-efficient heat pump water heaters, which use up to 60% less electricity than standard electric models.
If you decide to replace, check out my guide to the best electric water heater options for 2026. I have reviewed models across all price ranges to help you find the right fit.
I am a firm believer in DIY repairs, but I also know my limits. Some water heater problems require professional expertise, both for safety and for the long-term health of your system.
Call a professional immediately if you smell gas. A gas leak is an emergency. Leave your home and call your gas company or a licensed plumber from outside.
Call a professional for electrical work beyond basic testing. If you are not comfortable working with 240-volt electricity, do not risk electrocution. A licensed electrician or plumber can safely diagnose and repair electrical issues.
Call a professional if the breaker trips repeatedly. This indicates a serious electrical problem that could be a fire hazard.
Call a professional for tank leaks. If the tank itself is leaking, it cannot be repaired and must be replaced. A professional can safely disconnect and remove the old unit and install the new one to code.
Call a professional if you are unsure. Water heaters are expensive appliances, and mistakes can be costly or dangerous. A service call fee is cheap insurance against a major mistake.
When you call a professional, expect to pay between $100-200 for a diagnostic visit. Repairs typically range from $150-500 depending on the issue. Always get a written quote before approving any work.
The best way to avoid a water heater not heating scenario is regular maintenance. A few simple tasks performed annually can add years to your unit’s lifespan and keep it running efficiently.
Flush the tank annually. I covered this process earlier, and it is the single most important maintenance task for preventing heating problems.
Test the T&P valve. The temperature and pressure relief valve is a critical safety device. Lift the lever on the valve slightly and let it snap back. You should hear water discharge briefly into the drain pipe. If nothing happens, or if the valve leaks after testing, it needs replacement.
Inspect the anode rod every 3-5 years. The sacrificial anode rod attracts corrosive minerals in the water, protecting the tank lining from rust. Once the rod is depleted, the tank itself starts to corrode. Replacing a $30 anode rod can prevent a $1,000 tank replacement.
Check for leaks monthly. A quick visual inspection of the base of the tank and all connections can catch small problems before they become floods.
Insulate older units. If your water heater is warm to the touch, it is losing heat to the surrounding air. An insulation blanket costs around $30 and can improve efficiency by up to 10%.
For homeowners considering a new unit, 50 gallon electric water heaters remain the most popular choice for families of 3-4 people.
The most common causes are a tripped circuit breaker, a tripped reset button, a failed heating element, or sediment buildup blocking heat transfer. For gas units, the pilot light may be out or the thermocouple may need replacement. Start with the simplest checks first: power supply for electric units, pilot light for gas units.
Turn off power at the circuit breaker. Remove the access panel on the upper thermostat. Press the red reset button (ECO switch) until you hear it click. Replace the panel and restore power. Wait 30-60 minutes for water to heat. If the button trips again, you have an underlying issue like a bad element or thermostat.
For electric water heaters, check the circuit breaker first. A tripped breaker is the number one cause of no hot water. For gas water heaters, check that the pilot light is lit. These simple checks resolve the majority of no hot water calls without needing any tools.
Rheem water heaters have the same failure modes as other brands, but some models have known issues with the gas control valve on gas units and specific thermostat designs on electric models. Check for error codes on digital models. For persistent issues with a Rheem unit under warranty, contact Rheem customer service as many models have excellent warranty coverage.
Use a multimeter set to measure resistance (ohms). With power off and wires disconnected, test across the element terminals. A good element reads 10-16 ohms. Zero ohms indicates a short. No reading indicates an open circuit. Also test from a terminal to the tank; any reading here means the element is grounded and must be replaced.
Generally no. Water heaters typically last 8-12 years. At 15 years, your unit is living on borrowed time. Even if you successfully repair it, other components will likely fail soon. The money spent on repairs would be better applied toward a new, more energy-efficient unit that will save you money on utility bills.
A water heater not heating is frustrating, but it is rarely a mystery once you know what to check. Most problems fall into a few common categories: power issues, failed heating elements, thermostat problems, or sediment buildup. By working through the diagnostic steps I have outlined, you can identify the cause and often fix it yourself.
Safety always comes first. Know your limits, and do not hesitate to call a professional when dealing with gas leaks, electrical hazards, or tank failures. The cost of a service call is minor compared to the risks of a DIY mistake.
Regular maintenance is your best defense against future heating problems. Flush your tank annually, inspect the anode rod, and keep an eye out for small issues before they become big ones. With proper care, your water heater can provide reliable hot water for many years.
