

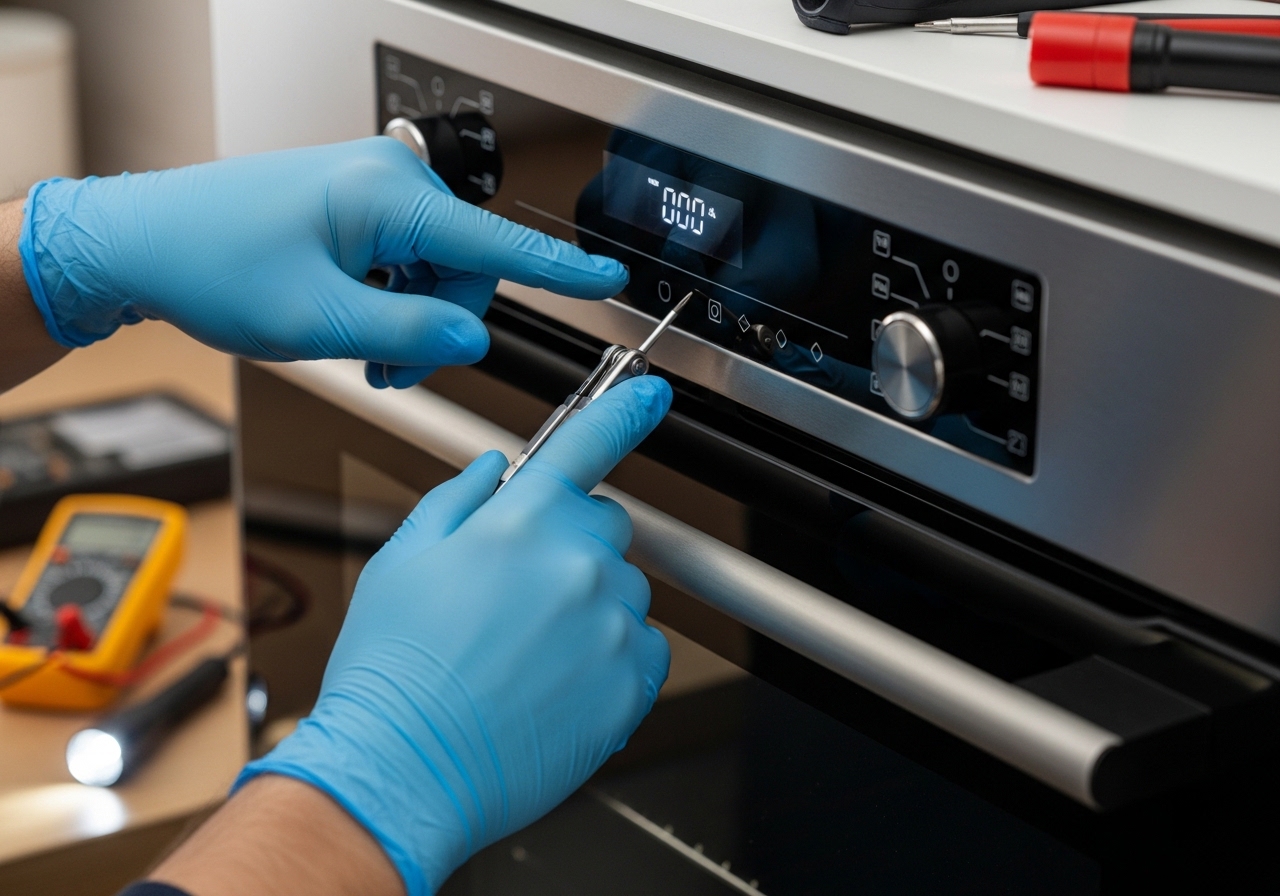
SAFETY WARNING: An oven that won’t switch off is a fire hazard. If your oven continues heating after you attempt to turn it off, disconnect power immediately at the circuit breaker. Unplug the appliance if accessible. Do not attempt to use the oven until repairs are complete. If you smell gas, evacuate and call emergency services.
An oven that won’t switch off is one of the most alarming appliance failures a homeowner can face. I remember the first time I encountered this issue – the panic of watching the temperature climb even after pressing cancel, the worry about energy bills, and the very real fear of a kitchen fire. You’re likely experiencing similar stress right now.
In this guide, I’ll walk you through exactly why your oven won’t switch off, how to diagnose the problem safely, and what steps you can take to fix it. We’ll cover both immediate safety actions and permanent solutions, with special attention to the environmental impact of a runaway oven that’s wasting energy and driving up your carbon footprint.
When your oven refuses to power down, the issue typically stems from a failure in one of three control systems. The electronic control board manages all oven functions through relays that switch power to heating elements. The heating elements themselves can fail in ways that cause continuous operation. Temperature sensors and thermostats provide feedback that tells the control board when to stop heating.
A failure in any of these components creates a breakdown in the command chain. The oven continues receiving power to heating elements regardless of your settings or the cancel button. This isn’t just an inconvenience – it’s a potential fire hazard that requires immediate attention.
Both electric and gas ovens can experience this failure, though the specific components differ. Electric ovens rely on heating elements and electronic controls, while gas ovens use igniters, gas valves, and safety systems that can also stick in the open position.
Based on repair technician reports and community discussions from appliance repair forums, these are the most frequent culprits when an oven won’t stop heating. Understanding which component failed helps determine whether you can attempt a DIY fix or need professional service.
The control board serves as your oven’s brain, processing your button presses and managing heating cycles through small electrical switches called relays. When you press cancel or turn the temperature dial to off, the control board should send a signal to open these relays and cut power to heating elements.
Relays can fail in the closed position through a process called welding. High electrical current flowing through the relay contacts can cause them to literally weld together. Once this happens, the contacts remain closed even when the control board sends the open signal. Power flows continuously to heating elements regardless of your settings.
Control board failure can also occur from electrical surges, moisture damage, or simple component aging. Boards manufactured between 2005 and 2015 seem particularly prone to relay issues according to repair forum discussions. The stuck relay is frequently cited by repair technicians as the single most common cause of an oven that won’t switch off.
Signs of control board problems include erratic temperature displays, unresponsive buttons, or the oven continuing to heat after the display shows it should be off. If unplugging the oven for five minutes and reconnecting temporarily fixes the issue, a faulty control board relay is likely your culprit.
Heating elements can fail in ways that cause continuous heating even without power from the control board. The bake element at the bottom of your oven and the broil element at top can develop internal shorts that create a direct electrical path bypassing normal controls.
When an element shorts to the oven’s metal frame, it creates a continuous circuit that draws power whenever the oven is plugged in. The element glows red hot continuously, regardless of what buttons you press or dials you turn. This failure mode is particularly dangerous because it can occur even with a fully functional control board.
Visual inspection often reveals a shorted element. Look for visible breaks in the element coil, blistering on the metal surface, or burn marks where the element mounts to the oven wall. A multimeter continuity test between the element terminals and the mounting brackets can confirm this diagnosis – you should read infinite resistance (no continuity) between these points on a healthy element.
Replacement elements typically cost between $25 and $75 depending on your oven brand and model. This makes element replacement one of the more affordable DIY repairs if you’re comfortable working with electrical components safely.
The temperature sensor or thermostat provides feedback that tells the control board when the oven reaches the set temperature. In older ovens with mechanical thermostats, a stuck contact can keep calling for heat continuously. Modern electronic ovens use a temperature sensor probe that sends resistance readings to the control board.
A faulty sensor can send incorrect readings that prevent the control board from recognizing when to stop heating. If the sensor reports a temperature lower than actual oven temperature, the control board continues supplying power to heating elements trying to reach the target temperature.
Temperature sensor failure produces specific symptoms. The oven may significantly overshoot the set temperature, or the display might show erratic temperature readings that jump around unexpectedly. In some cases, the oven may heat continuously but at a lower temperature than set.
Testing a temperature sensor requires a multimeter to check resistance at room temperature. Most oven sensors should read between 1000 and 1100 ohms at room temperature (70°F). Readings significantly outside this range indicate sensor failure requiring replacement.
Gas ovens introduce additional components that can cause continuous heating. The gas valve opens to allow fuel flow when the igniter draws sufficient current. If the gas valve sticks in the open position or the igniter remains energized continuously, gas continues flowing and burning regardless of control settings.
The safety valve in gas ovens is designed to prevent gas flow unless the igniter is hot enough to ignite the fuel immediately. However, component failures can bypass these safety systems or cause them to malfunction in ways that permit continuous operation.
Gas oven issues require extra caution. Any gas smell indicates an immediate emergency – evacuate the home and call emergency services from outside. Even without gas odor, gas oven repairs often involve working with gas lines and electrical systems simultaneously, creating risks that exceed typical DIY scope.
A runaway oven doesn’t just threaten your kitchen safety – it creates significant environmental impact through wasted energy. When your oven won’t switch off, it typically draws between 2,000 and 5,000 watts continuously depending on size and heating elements engaged. Over 24 hours, that’s 48 to 120 kilowatt-hours of wasted electricity.
At average electricity rates, a runaway oven can add $50 to $150 to your monthly bill if not addressed immediately. But the environmental cost extends beyond your wallet. That wasted electricity translates to 20-50 pounds of carbon dioxide emissions daily if your power comes from fossil fuel sources.
Over a week of continuous operation, a malfunctioning oven generates more emissions than driving a car for 200 miles. This hidden environmental cost makes immediate repair not just a safety issue but an ecological responsibility. If your oven cannot be repaired economically, consider recycling your old appliance responsibly and upgrading to energy-efficient oven models that reduce long-term energy consumption.
Beyond the immediate waste, continuous heating degrades the oven’s insulation and door seals. This damage reduces efficiency even after repairs, creating lasting energy waste for years. Quick action prevents this compound environmental impact.
If you’re comfortable working with electrical appliances safely, these diagnostic steps can help identify which component failed. Always disconnect power at the circuit breaker before touching any internal components, and never work on a hot oven. For additional guidance on electrical appliance troubleshooting, our related guides can help you understand safe diagnostic practices.
Step 1: Power Cycle the Oven
Disconnect power at the circuit breaker for at least five minutes. This allows capacitors to discharge and control boards to fully reset. Restore power and test operation. If the oven now functions normally, you likely have a control board relay issue that will probably recur. This test provides temporary relief but not a permanent solution.
Step 2: Visual Inspection of Heating Elements
With power disconnected, examine both bake and broil elements for visible damage. Look for breaks in the coil, blistering, dark spots, or damage where elements connect to the oven wall. Any visible damage indicates element replacement is needed. Remove the mounting screws and gently pull the element forward to inspect wire connections for burning or corrosion.
Step 3: Test Element Continuity
Set your multimeter to continuity or resistance mode. Test between the two element terminals – you should read 15-30 ohms for a good element. Then test from each terminal to the element mounting bracket. A good element shows infinite resistance (no continuity) to the bracket. Any continuity between terminals and bracket indicates a shorted element requiring replacement.
Step 4: Check the Temperature Sensor
Locate the temperature sensor probe, usually mounted to the back oven wall. Disconnect the wiring harness and test resistance across the sensor terminals. At room temperature, most sensors read 1000-1100 ohms. Consult your oven’s technical documentation for the specific range. Replace the sensor if readings fall outside specifications.
Step 5: Inspect the Control Board
Remove the control panel to access the control board. Look for visible damage including burned spots, swollen capacitors, or discolored relay contacts. A burnt electrical smell often accompanies control board failure. Board-level repair requires soldering skills and replacement relays, making full board replacement more practical for most homeowners.
Step 6: Document Your Findings
Take photos of wiring connections before disconnecting anything. Label wires with tape if needed. This documentation proves invaluable when ordering replacement parts or explaining symptoms to a repair technician.
Some oven repairs require skills and tools beyond typical DIY scope. Knowing when to call a professional protects your safety and prevents costly mistakes that could require complete oven replacement.
Call a certified appliance technician if you identify control board failure. Board replacement involves delicate ribbon cable connections and proper grounding that affect safety and function. Technicians also have access to manufacturer-specific diagnostic modes that confirm board issues beyond doubt.
Gas oven problems require professional service in nearly all cases. Working with gas valves, safety systems, and ignition components creates fire and explosion risks that exceed typical homeowner capabilities. Many jurisdictions also require licensed professionals for gas appliance repairs.
If your oven is under warranty, DIY repairs may void coverage. Check warranty terms before opening the appliance. Authorized service ensures warranty compliance and uses manufacturer-approved parts that maintain safety certifications.
For older ovens, professional assessment helps determine whether repair or replacement makes better financial sense. Our similar troubleshooting guides can help you understand when professional expertise becomes the wiser choice over DIY attempts.
Understanding repair costs helps you make informed decisions about fixing your oven. DIY repairs save labor costs but require time, tools, and comfort with electrical work. Professional service provides expertise and warranties but at higher total expense.
DIY Repair Costs:
Heating elements typically cost $25-$75 for standard models, with premium or vintage oven elements reaching $150. Temperature sensors range from $15-$40. Control boards represent the most expensive DIY part, costing $150-$400 depending on oven brand and model complexity. You’ll also need basic tools: a multimeter ($20-$50), screwdrivers, and possibly socket wrenches.
Professional Repair Costs:
Appliance technicians charge $75-$150 for a service call that includes diagnosis. Labor for repairs runs $50-$100 per hour, with most oven repairs taking 1-2 hours. Total professional repair costs typically range from $200 for simple element replacements to $600+ for control board issues requiring parts and extensive labor.
Replace vs Repair Decision:
Consider oven replacement if your appliance is over 10 years old and repair costs exceed 50% of replacement value. New ovens offer improved energy efficiency that can offset replacement costs over time. If replacement is your decision, remember to recycle your old appliance responsibly rather than sending it to a landfill.
The most common cause is a stuck relay on the control board that continues sending power to heating elements. Other causes include shorted heating elements, faulty temperature sensors, or broken control knobs. Disconnect power at the circuit breaker immediately and inspect these components to identify the failure.
Yes. An oven that won’t switch off is a significant fire hazard. Continuous heating can ignite nearby materials, damage internal wiring, or cause component failures that spark flames. According to fire safety data, malfunctioning cooking equipment causes thousands of home fires annually. Disconnect power immediately and do not use the oven until repaired.
Signs include the oven continuing to heat after pressing cancel, erratic temperature display readings, unresponsive buttons, or temporary fixes after power cycling that fail again later. A burnt electrical smell from the control panel area also indicates board failure. Control board issues often require professional diagnosis with manufacturer-specific test modes.
This typically indicates a stuck relay on the control board, shorted heating element, or broken control switch. The electrical path to heating elements remains closed despite your control inputs. Disconnect power at the breaker immediately. Once cooled, test heating elements for shorts to the oven frame and inspect the control board for visible damage.
A failing thermostat causes temperature swings, overshooting set temperatures, or continuous heating as the control system cannot recognize when target temperature is reached. In mechanical thermostats, you may notice loose or broken control knobs. Temperature sensor failures often show erratic digital readings or error codes on the display.
An oven that won’t switch off demands immediate action for both safety and environmental reasons. Whether the cause is a stuck control board relay, shorted heating element, or faulty temperature sensor, understanding the failure mechanism helps you choose between DIY repair and professional service. For more appliance repair resources, explore our guides on troubleshooting other household appliances that won’t power on.
Remember that safety comes first – disconnect power at the circuit breaker before any inspection or repair work. The environmental cost of a runaway oven adds urgency to quick resolution, with continuous operation generating significant carbon emissions and energy waste.
By following the diagnostic steps in this guide, you can identify which component failed and make an informed decision about repair or replacement. Your oven should serve your cooking needs reliably for years – when it won’t switch off, you now have the knowledge to restore safe, efficient operation.
