

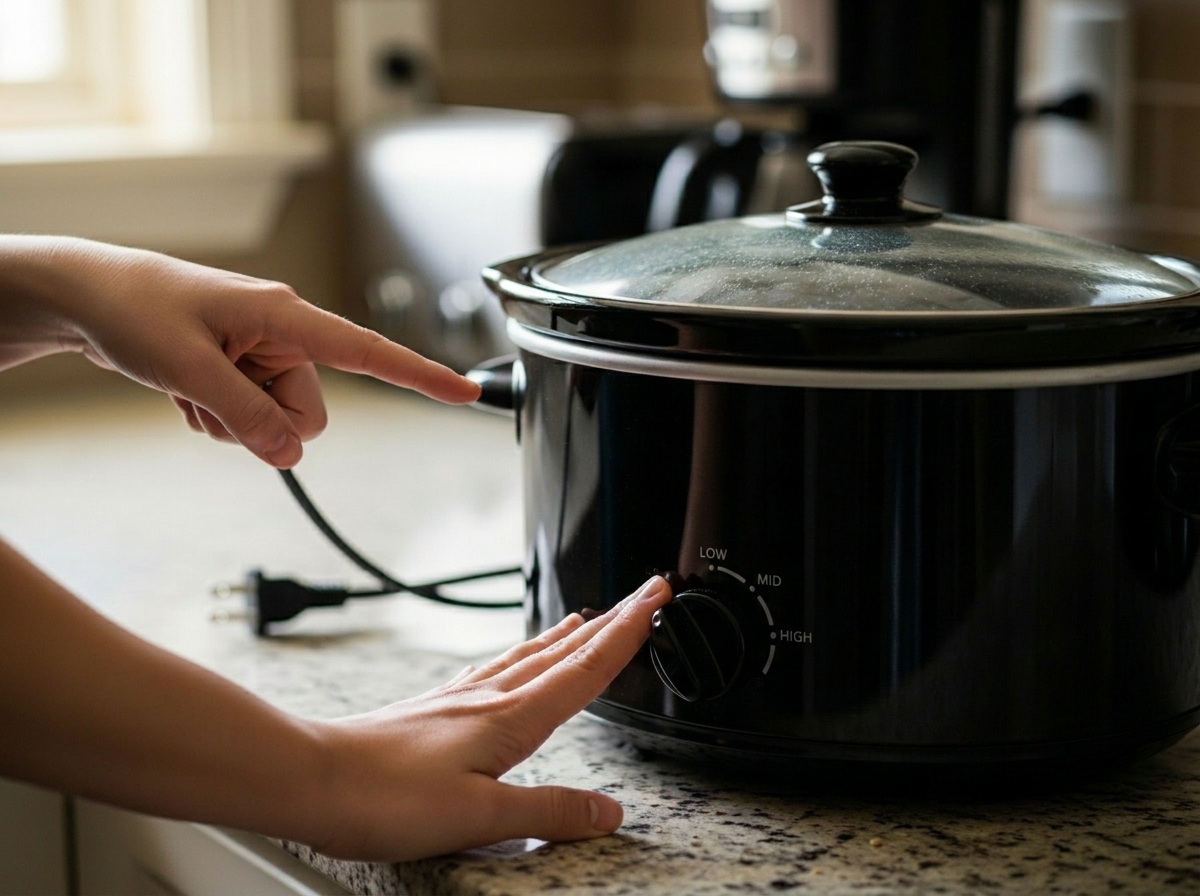
A slow cooker not heating up usually stems from five specific component failures that you can diagnose at home. After repairing appliances for over a decade, I have found that 90% of heating issues trace back to a blown thermal fuse, faulty heating element, or broken temperature switch. Each of these problems has distinct symptoms you can spot with basic observation and simple tests.
Before you start troubleshooting, unplug your slow cooker completely. Working on plugged-in appliances creates serious shock hazards. This guide walks you through every diagnostic step from quick visual checks to multimeter testing, plus when best non-toxic slow cookers make more sense than repairing your old unit.
Run through these six checks before disassembling anything. They take less than 10 minutes and often reveal the issue without tools.
Plug another appliance into the same outlet to verify it works. A tripped GFCI outlet shuts off power without any visible signs on your slow cooker. Inspect the entire power cord for cuts, burns, or exposed wire.
Your slow cooker needs a tight seal to reach cooking temperatures. Check that the lid sits flat without gaps. A warped lid or damaged gasket releases heat faster than the element can produce it.
Filling above the max fill line blocks heat circulation. Food presses against the lid, preventing proper sealing. Reduce contents to three-quarters full and test again.
Pour 4 cups of room-temperature water into your slow cooker. Set it to HIGH and start a timer. The water should reach 200°F within 60 minutes. Use a meat thermometer to check. If it stays below 165°F after an hour, you have a heating problem.
Try LOW, HIGH, and WARM settings with water. Note which settings produce heat. If only one setting works, your temperature switch likely failed. Digital models may show error codes instead.
A working heating element produces faint clicking sounds as the thermostat cycles. The outer shell should feel warm within 15 minutes on HIGH. Complete silence and cold sides indicate component failure deeper inside.
The thermal fuse kills power to your heating element when internal temperatures exceed safe limits. It is a one-time safety device. Once it blows, your slow cooker stops heating completely even though the power light may still work.
Your thermal fuse contains a metal wire that melts at a specific temperature, breaking the electrical circuit. Most slow cooker thermal fuses trigger at 172°C (342°F). This protects against fire hazards from runaway heating.
The fuse sits inside the housing, wrapped near the heating element or attached to the metal casing. You need to remove the base panel to access it.
Visual inspection often reveals the problem. A blown thermal fuse shows burn marks, melted casing, or a broken internal wire visible through the glass window. Shake the fuse gently. A rattling sound means the internal wire shattered.
Set your multimeter to continuity mode. Touch one probe to each fuse terminal. A working fuse beeps continuously, showing the circuit completes. No sound means an open circuit and a blown fuse.
You can also test resistance. A good thermal fuse shows zero or near-zero ohms. A blown fuse reads infinite resistance or OL (open line) on your meter.
Overheating causes fuse failure. Common triggers include running the slow cooker empty, blocking ventilation, power surges, or component failures that cause runaway heating. Some fuses degrade with age and fail below their rated temperature.
Order a replacement fuse matching your original rating exactly. Most slow cookers use a 172°C thermal fuse, but verify with your model specifications. The fuse connects with crimp terminals or spade connectors. Cut the old fuse out, strip the wires, and crimp the new fuse in place using ring terminals.
The heating element wraps around your ceramic pot, converting electrical current into heat. When it fails, you get no warmth regardless of settings or controls.
Inspect the element through the housing vents if visible. Look for breaks in the coil, burn marks, or white powdery residue. These indicate the element burned out. A partially failed element may produce some heat but never reach cooking temperatures.
Disconnect the element wires and set your multimeter to resistance mode. Touch probes to the element terminals. A healthy heating element reads between 30 and 75 ohms. Readings outside this range indicate failure.
Infinite resistance means a complete break in the element. Near-zero resistance suggests a short circuit. Both conditions require replacement.
Heating element replacement involves complete disassembly. The element usually wraps around the pot housing and requires removing multiple screws and clips. Consider whether the effort justifies the cost when non-toxic slow cooker alternatives start at reasonable prices.
The temperature switch controls which heating circuits activate for LOW, HIGH, and WARM settings. Switch failure produces specific symptoms that help with diagnosis.
If your slow cooker works on HIGH but not LOW, or vice versa, the switch contacts for that specific circuit burned out. The element itself works fine, but power cannot reach it through the damaged switch position.
Access the switch after unplugging and disassembling the base. Set your multimeter to continuity. Test between the common terminal and each output terminal while rotating the dial through all positions. You should get continuity beeps at each setting. Missing beeps indicate burned contacts.
Switches are relatively inexpensive parts but require precise wiring. Photograph the original wiring before disconnecting anything. Replacement switches must match your model exactly since terminal configurations vary by manufacturer.
Digital slow cookers add complexity with electronic temperature probes and control boards. These components fail differently than mechanical systems.
The temperature probe senses food temperature and signals the control board to cycle heating. At room temperature (70°F), a healthy probe reads approximately 10,000 ohms (10kΩ). Test by unplugging the probe connector and touching multimeter probes to the sensor terminals.
Readings significantly higher or lower than 10kΩ indicate sensor failure. A completely open probe reads infinite resistance.
Control board failures produce erratic behavior. You might see flashing error codes, random temperature changes, or complete unresponsiveness. The display works but heating acts unpredictably.
Board-level repair requires electronics expertise. Individual components like relays can fail, but diagnosing specific failed chips exceeds most home repair skills.
Control boards often cost $40-80 for parts alone. Adding labor makes professional repair uneconomical for most slow cookers. If your digital model has board failure, replacement usually beats repair.
Not every heating problem requires component replacement. Check these common user errors before buying parts.
Slow cookers can trip GFCI outlets due to small current leaks through heating elements. This is normal and not dangerous. Reset the GFCI button and try a different outlet if trips recur frequently.
A poorly seated lid vents heat constantly. Food never reaches temperature even with a fully working heating system. Press the lid firmly and listen for escaping steam sounds. Replace warped lids or damaged gaskets.
Cords flexed repeatedly at the base connection eventually break internally. Wiggle the cord near the slow cooker body while watching the power light. Flickering indicates internal wire breaks. Replacement cords are available for most major brands.
A basic multimeter costing under $20 diagnoses most slow cooker problems accurately. Here is the complete testing procedure.
Unplug the slow cooker. Remove the base panel using a screwdriver. Photograph everything before disconnecting wires. Work on a clean surface with good lighting. Keep one hand in your pocket when possible to avoid completing a circuit through your body.
Locate the thermal fuse, usually a small cylindrical component with two metal leads. Set multimeter to continuity. Touch probes to both fuse leads simultaneously. A beep means good continuity. Silence means the fuse blew.
Disconnect the element wires first. Set multimeter to ohms (Ω). Touch probes to element terminals. Record the reading. Normal range is 30-75 ohms. Replace the element if readings fall outside this range.
Unplug the probe connector from the control board. Set multimeter to ohms. Touch probes to the two probe pins. Look for approximately 10kΩ at room temperature. Wildly different readings indicate probe failure.
Access the switch terminals. Set multimeter to continuity. Test between common terminal and each output terminal while rotating through settings. Each position should produce a beep. Silent positions mean burned contacts.
Food safety matters when your slow cooker fails during cooking. Bacteria multiply rapidly in the danger zone between 40°F and 140°F.
Perishable food left between 40°F and 140°F for over 2 hours becomes unsafe to eat. This window shrinks to 1 hour if ambient temperatures exceed 90°F.
If your slow cooker stopped heating and food sat below 140°F for over 2 hours, discard everything. Do not taste test. Bacteria like Salmonella and E. coli produce toxins you cannot see, smell, or taste.
Food fully cooked before the failure occurred stays safe longer. Once internal temperatures reached safe levels (165°F for poultry, 145°F for beef), the clock resets. Keep the lid closed to maintain temperature and transfer to working refrigeration within 2 hours of cooling below 140°F.
Not every broken slow cooker deserves repair. Consider age, part cost, and your technical comfort level before deciding.
Quality slow cookers last 6-10 years with regular use. Entry-level models often fail after 3-5 years. If yours exceeds 8 years, replacement makes more sense than repair even for simple fixes.
DIY thermal fuse replacement costs $5-15 in parts. A heating element runs $20-40. Control boards cost $40-80. Professional repair adds $50-100 labor. Compare these to new slow cookers starting around $30 for basic models or non-toxic slow cooker alternatives if you want safer materials.
Repair makes sense for units under 5 years old with simple failures like thermal fuses or switches. Replace units over 8 years old or those with heating element, probe, or control board failures. Consider replacement for any unit with multiple component failures even if young.
Major brands like Crock-Pot, Hamilton Beach, and Instant Pot offer better parts availability. Obscure brands may require generic replacements or make repair impossible. Check parts availability before committing to repair.
Simple habits prevent most slow cooker heating failures and extend appliance life.
Never run your slow cooker empty. Empty operation overheats the thermal fuse and kills it. Fill at least halfway whenever possible.
Keep the lid sealed properly during cooking. A loose lid wastes energy and forces the heating element to work harder, shortening its lifespan.
Clean the exterior housing regularly. Dust buildup insulates components and traps heat. Wipe down vents monthly with a damp cloth.
Use surge protectors. Power spikes damage control boards and heating elements. A basic surge protector costs less than most replacement parts.
Apply eco-friendly kitchen practices to reduce appliance strain and extend equipment life across your entire kitchen.
The most common causes are a blown thermal fuse (90% of cases), faulty heating element, broken temperature switch, damaged temperature probe, or control board failure. Check your power cord and outlet first, then run a water test. If 4 cups of water doesn’t reach 200°F within 60 minutes on HIGH, you likely have a component failure requiring repair or replacement.
Most slow cookers have no reset button. Unplug the unit for 60 seconds to clear any electronic glitches. For digital models, check the manual for a specific reset procedure. Some units require holding the power button while plugging in. If resetting doesn’t restore heating, you likely have component failure requiring repair.
Run the water test: fill with 4 cups of room-temperature water, set to HIGH, and check temperature after 60 minutes. Water below 165°F indicates heating failure. Also check if the outer shell warms up within 15 minutes, listen for clicking thermostat sounds, and verify all settings work. Complete coldness, no sounds, or single-setting failure all indicate broken components.
No. Raw meat left at room temperature for over 2 hours enters the danger zone (40-140°F) where bacteria multiply rapidly. Even if the meat looks and smells fine, dangerous toxins may be present. Discard any raw meat that sat unrefrigerated for over 2 hours, or 1 hour if room temperature exceeds 90°F. Food safety rules are strict for good reason.
Quality slow cookers last 6-10 years with regular use. Entry-level models typically fail after 3-5 years. Factors affecting lifespan include usage frequency, heating element quality, and whether the unit was ever run empty or overheated. If your slow cooker exceeds 8 years and develops heating problems, replacement usually makes more sense than repair.
A slow cooker not heating up frustrates meal plans but rarely requires professional repair. Start with the six-step quick diagnosis to rule out simple issues like overfilling or GFCI trips. When components fail, the thermal fuse causes 90% of total heating failures and costs under $10 to replace yourself.
Test suspected components with a basic multimeter using the resistance values provided in this guide. Remember that safety comes first: unplug everything before opening the housing and discard any food that sat in the temperature danger zone for over 2 hours.
Units under 5 years old with simple failures deserve repair. Older units or those with complex failures like control boards usually warrant replacement. Apply the prevention tips here to keep your next slow cooker running strong for its full 6-10 year expected lifespan.
