

You can definitely compost peas. Snap peas, snow peas, and garden peas all work well in a compost pile. Break pea pods and plants into smaller pieces to speed up decomposition. Combine peas with carbon-rich materials like dried leaves to maintain balance. Make sure to turn your compost pile regularly for efficient breakdown.
Pea plants and pods, rich in nitrogen, enrich the soil and support a thriving garden. However, in cold climates, take extra measures like insulation to keep the compost process active. Interested in more details about composting peas and other tips? There’s more to discover.
Composting peas enriches your garden soil with essential nutrients, boosting plant health. When you compost peas, you’re not just discarding waste; you’re transforming it into valuable, nutrient-rich compost.
This compost greatly improves soil structure, enhancing its ability to retain moisture and support plant roots. By incorporating composted peas into your garden, you’re promoting soil improvement, which is crucial for a thriving garden ecosystem.
Moreover, composting peas helps in waste reduction. Instead of letting pea pods and leftovers end up in a landfill, you can turn them into a beneficial resource for your garden. This process reduces the amount of organic waste that contributes to environmental pollution. By composting, you’re not only improving your garden but also making a positive impact on the planet.
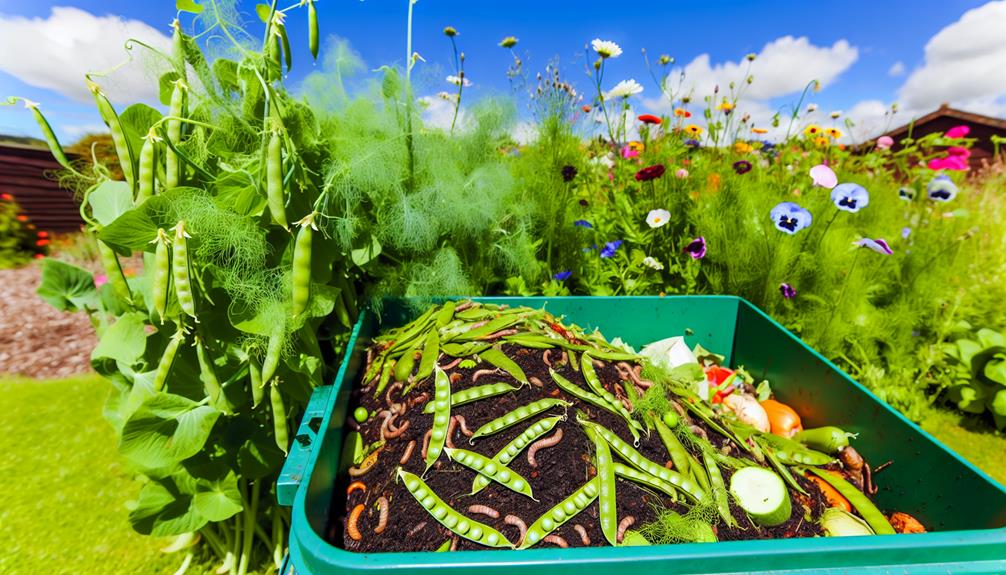
To get started, simply add pea remnants to your compost pile. Make sure that your compost maintains a balance between green materials (like peas) and brown materials (such as dried leaves or newspaper). Mix them well to accelerate the decomposition process.
You can compost various types of peas, including snap peas, snow peas, and garden peas, to enrich your garden soil.
Snap peas, also known as sugar snap peas, and snow peas are particularly beneficial because they break down relatively quickly and contribute valuable nutrients. These peas are a fantastic addition to your compost pile, ensuring a rich, nutrient-dense compost that will do wonders for your plants.
Garden peas, another excellent option, add bulk and nitrogen to your compost. Their high moisture content helps maintain the right balance in your compost heap. You might have an abundance of pea plants after harvesting, and all parts of these plants can be composted, including the pods, vines, and leaves.
When composting peas, it’s important to mix them with other compostable materials to maintain a balanced compost pile. Combining your snow peas, sugar snap peas, and garden peas with carbon-rich materials like dried leaves or straw will create an ideal compost mix.
Also Read: Can You Compost Cantaloupe?
To prepare peas for composting, start by removing the pea pods, which can compost more slowly than the plants themselves.
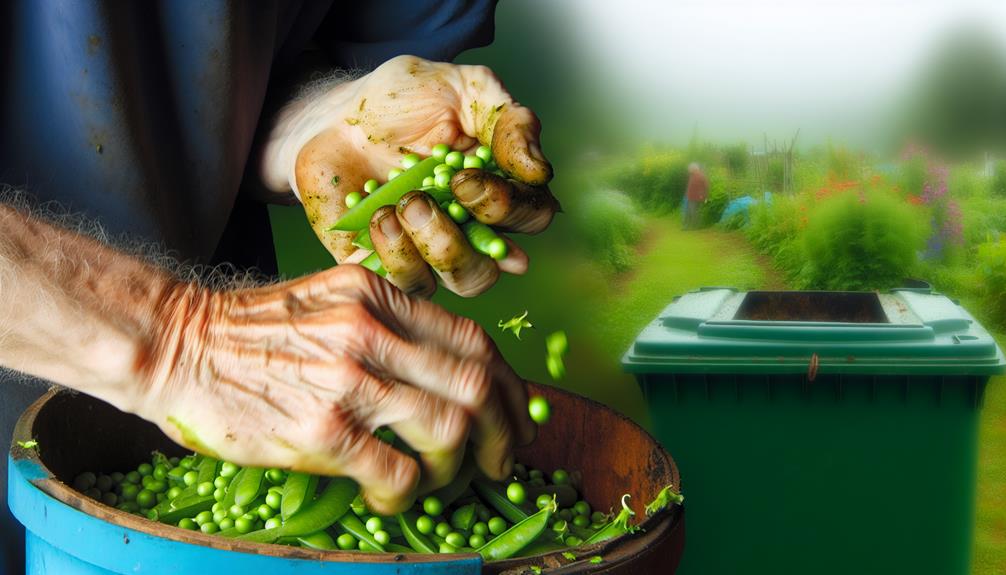
Next, chop the pea plants into smaller pieces to speed up decomposition.
Removing pea pods is an important yet necessary step to guarantee your compost pile remains balanced and efficient. When you engage in pea shelling, you’re left with a significant amount of waste, primarily the pods.
Efficient waste management begins with understanding what can be composted and how to prepare it properly.
First, collect all the empty pea pods after shelling. Make sure they’re free of any stickers or non-organic materials. Pea pods are rich in nitrogen, which is a vital component for a healthy compost. However, their tough texture means they take longer to break down compared to softer waste.
To expedite decomposition, break the pods into smaller pieces before adding them to your compost pile. This increases the surface area, allowing microbes to work more efficiently. Mix the broken pods with other compost materials like fruit scraps, vegetable peels, and dry leaves to maintain a balanced carbon-to-nitrogen ratio.
When preparing pea plants for composting, chop the stems and leaves into smaller pieces to expedite their decomposition. This step is essential because smaller pieces break down faster, making your composting process more efficient.
Begin by gathering your pea plants and evaluating their size. Larger plants will need more chopping, so keep this in mind as you proceed.
For effective chopping techniques, use a sharp garden knife or pruning shears. These tools make clean cuts, reducing the effort required. Hold the stem firmly and cut it into sections about 1 to 2 inches long. This size is ideal as it balances between manageable pieces and efficient decomposition.
Don’t forget to chop the leaves too. While they’re generally smaller, cutting them up ensures they mix well with other compost materials.
If you’ve got a lot of plants to process, consider using a garden shredder. This can save you time and guarantee uniformity in the plant size.
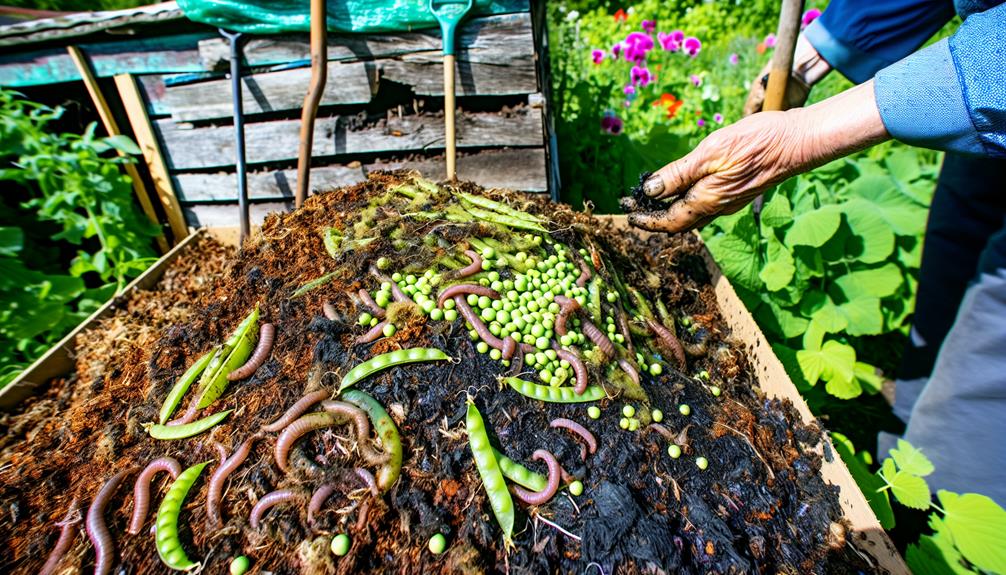
After chopping your pea plants into smaller pieces, it’s important to add them strategically to your compost pile for optimal decomposition.
First, consider compost layering. Start with a base layer of coarse materials like twigs or straw to enhance aeration.
Next, place a layer of the chopped pea plants. This green material is rich in nitrogen, which is vital for microbial activity. To balance the nitrogen, add a layer of brown materials, such as dried leaves or shredded paper, which provide carbon.
This strategic placement of green and brown layers ensures a balanced compost pile, promoting efficient decomposition.
Continue alternating layers of green and brown materials. Aim for a ratio of roughly three parts brown to one part green.
Remember to maintain moisture levels by lightly watering each layer, but avoid making the pile soggy.
Turning the pile every few weeks helps to aerate it and speed up the composting process.
When you add pea pods to your compost, you’re incorporating a nutrient-rich green material that enhances the compost’s overall quality.
Make sure to break the pods into smaller pieces to speed up decomposition.
Remember to balance these with brown materials like dried leaves for an effective compost mix.
Pea pods are a fantastic source of nutrient-rich green material for your compost pile. When you add them, you’re not just discarding kitchen scraps; you’re enhancing soil enrichment. Pea plants, including their pods, are excellent at nitrogen fixation.
This means they pull nitrogen from the air and convert it into a form that enriches the soil. By composting pea pods, you’re directly contributing to a healthier garden ecosystem.
To get started, simply toss your pea pods into your compost bin. They’re green material, which means they’re high in nitrogen—a key element for a balanced compost. This helps speed up the decomposition process when mixed with brown materials like dried leaves or straw. Make sure you cut or crush the pods a bit to increase the surface area, which aids in quicker breakdown.
You’ll find that adding these pea pods benefits your compost by boosting its nitrogen content, ultimately creating rich, fertile compost. This enriched compost can then be used to nourish your garden, promoting robust plant growth and a bountiful harvest.
To effectively break down pea pods in your compost, you should always cut or crush them to increase their surface area. This simple step speeds up decomposition and allows microorganisms to access the pea protein inside more easily.
When you prepare your pea pods, you’ll find that their pod texture can vary—some are tougher, while others are more tender. By cutting or crushing them, you’re guaranteeing that even the tougher pods break down at a similar rate as the rest of your compost materials.
Incorporating pea pods into your compost not only adds valuable nutrients but also helps balance moisture levels. Their natural structure holds water, aiding in the overall moisture content of your compost pile. It’s a community effort, where each piece contributes to the greater good of a thriving compost system.
When you add pea pods, spread them evenly and mix them well with other compost materials. This blending ensures they don’t clump together, which could hinder the aeration and slow the composting process.
Adding pea pods to your compost is a strategic way to balance greens and browns, ensuring ideal decomposition. Pea pods are considered ‘greens’ because they’re rich in nitrogen. To achieve the perfect compost, you need to balance these greens with ‘browns,’ which are high in carbon. An ideal carbon ratio is critical for efficient breakdown.
When you add pea pods, make sure you’re also incorporating corresponding browns such as dried leaves, straw, or shredded paper. This balance helps maintain the right carbon ratio, which is essential for microbial activity. Without enough carbon, your compost pile may become too wet and start to smell.
Moisture levels are another important factor. Pea pods contain a lot of water, so you’ll need to monitor and adjust the moisture in your compost. If the compost becomes too wet, add more browns to absorb excess moisture. Conversely, if it’s too dry, a bit of water or more greens can help.
Also Read: Can You Compost Butter?
Achieving the right balance between green and brown materials is essential for successful composting. To create an effective compost pile, you need both green materials (like your peas) and brown materials. Green materials provide nitrogen, while brown materials supply carbon. This balance is important for maintaining proper moisture levels and promoting compost aeration.
Aim for a ratio of roughly three parts brown materials (like leaves, straw, or cardboard) to one part green materials. This helps guarantee your compost doesn’t become too wet or too dry. If it’s too wet, add more browns to absorb excess moisture. Conversely, if it’s too dry, introduce more greens to add moisture.
Monitor your compost pile regularly. Turn it frequently to enhance aeration and speed up the decomposition process. This mixing ensures that all materials are thoroughly combined, promoting even breakdown and avoiding unpleasant odors.
When composting peas in cold climates, you’ll need to take into account their decomposition rates, which slow down notably in lower temperatures.
Use winter composting techniques like adding insulation to your compost bin to retain heat and maintain microbial activity.
Additionally, combining peas with other nitrogen-rich materials can help accelerate the breakdown process.
In cold climates, peas tend to decompose more slowly due to lower temperatures inhibiting microbial activity. Soil microbes, essential for breaking down organic matter, become less active when it’s cold. This means your compost pile will need some extra attention to make sure those peas break down efficiently.
To help you manage pea decomposition in colder climates, consider these factors:
To effectively compost peas in cold climates, focus on specific winter composting techniques that address the challenges posed by lower temperatures. One approach is indoor composting, which allows you to maintain a stable environment for decomposition. Indoor composting bins can be placed in a garage, basement, or even a kitchen corner. This method guarantees that your peas and other organic materials break down efficiently despite the cold outside.
Another essential technique is winter layering. Start with a base layer of coarse materials like small branches or straw to improve airflow. Follow this with alternating layers of green (nitrogen-rich) and brown (carbon-rich) materials. Peas, being green materials, should be mixed with dry leaves, shredded newspaper, or straw. This layering helps maintain the necessary balance of carbon and nitrogen, even in cold weather.
Remember to monitor moisture levels closely. In winter, compost piles can dry out quickly due to low humidity. Regularly check your compost and add water if needed, ensuring it stays as damp as a wrung-out sponge.
Insulating your compost bin effectively in cold climates guarantees that the decomposition process for peas and other organic materials continues smoothly despite freezing temperatures. To achieve this, you need to focus on creating thermal insulation and ensuring proper heat retention within your compost bin.
Here’s how you can do it:
Also Read: Can You Compost Cadaver?
Encountering problems while composting peas can be frustrating, but most issues are easily resolved with a few simple adjustments. If you’re noticing pest infestations or mold growth, you’re not alone. These are common issues that many composters face.
To tackle pest infestations, make sure you’re covering your compost pile adequately and avoiding food scraps that attract pests. Turn the compost regularly to disrupt any nests. For mold growth, balance the moisture levels by adding more dry materials like leaves or straw. Guarantee proper aeration by turning the pile frequently.
Below is a table summarizing common issues and their solutions to keep your compost pile healthy:
| Issue | Solution |
|---|---|
| Pest Infestations | Cover compost, avoid attraction-prone scraps, turn compost often |
| Mold Growth | Balance moisture, add dry materials, guarantee proper aeration |
| Slow Decomposition | Check balance of green and brown materials, turn compost regularly |
Speeding up decomposition in your compost pile can be achieved with a few strategic adjustments. One key factor is compost aeration. Regularly turning your compost helps introduce oxygen, which is vital for the microorganisms breaking down the organic matter. Aim to turn your pile every few weeks to keep it well-aerated.
Moisture control is another essential element. Your compost should be as damp as a wrung-out sponge. Too much water can lead to a smelly, anaerobic environment, while too little water slows down the decomposition process. Check the moisture level regularly and adjust by adding water or dry materials as needed.
To help you speed up decomposition, consider these tips:
You’ve successfully created rich, dark compost, and now it’s time to put it to good use in your garden. Start by spreading a layer of your finished compost over your garden beds. Aim for about an inch thick, and gently work it into the top few inches of soil. This simple garden application enriches the soil, providing essential nutrients that plants need to thrive.
When planting new seeds or seedlings, mix some compost directly into the planting holes. This not only enhances soil enrichment but also improves soil structure, aiding water retention and root development. Your plants will establish more quickly and grow healthier.
You can also use your compost as a top dressing for existing plants. Sprinkle it around the base of plants, being careful not to pile it against stems or trunks. This method gradually releases nutrients into the soil as it breaks down further, feeding your plants over time.
Don’t forget to use compost in your potted plants too. Mix it with potting soil to boost nutrient content and improve soil texture. By incorporating finished compost into your garden, you’re fostering a thriving, nutrient-rich environment for all your plants.
After enriching your garden with finished compost, let’s explore how to compost other legumes effectively. Composting beans and other legumes can add valuable nutrients to your compost pile, enhancing soil health and plant growth.
Here are some steps to follow:
Legume benefits include their high nitrogen content, which boosts the microbial activity necessary for composting. When you add beans, lentils, or chickpeas to your compost, you’re enriching it with essential nutrients that benefit your garden.
Yes, peas can attract pests to your compost pile. To achieve pest prevention, make sure you cover them with brown materials. This community values compost pests management, so remember to maintain a balanced compost to deter unwanted visitors.
Yes, you should wash peas before composting them. By doing so, you’ll maintain compost hygiene, reducing unwanted contaminants. Washing also benefits the composting process, ensuring your pile stays healthy and inviting for your gardening community.
You’re wondering about the decomposition rate of peas in compost. Typically, peas take about 2-3 months to break down completely. This composting duration depends on factors like temperature and moisture, so keep your compost well-managed!
When considering harmful chemicals in peas, be mindful of pesticide residue. It can affect soil nutrients in your compost. Make sure your peas are organic or thoroughly washed to keep your compost community healthy and thriving.
You can compost cooked or seasoned peas, but be mindful of nutrient balance and compost safety. Avoid adding too many at once, and make sure they’re mixed well with other materials to create a healthy compost environment.
By composting peas, you’re enriching your soil with valuable nutrients. Make sure you use a mix of green and brown materials to maintain balance.
Chop the peas and pods for faster decomposition, and monitor moisture levels closely. If you encounter issues like bad odors or slow breakdown, adjust your compost mix accordingly.
Use the finished compost to enhance your garden’s health. Don’t forget, other legumes can also be composted for additional benefits.