

I’ve spent over 200 nights sleeping in sleeping bags across four continents, from the freezing high Andes to humid Southeast Asian jungles. Through years of trial and error, I learned that comfort in a sleeping bag isn’t about expensive gear. It’s about technique.
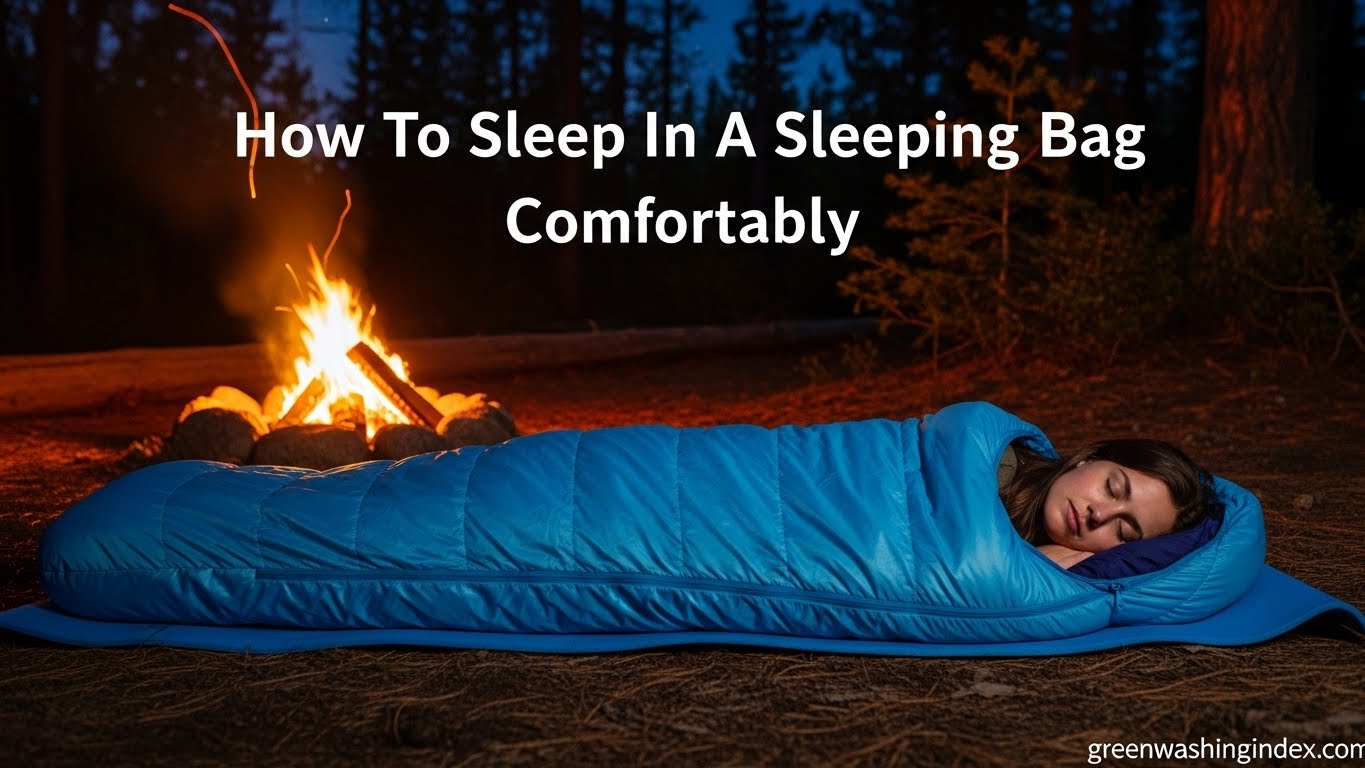
How to sleep in a sleeping bag is a learned skill, not instinct. Most people crawl in, zip up, and wonder why they’re uncomfortable or cold all night. The difference between a miserable night and restful sleep comes down to a few key techniques that transform your bag from a nylon cocoon into a cozy sleep system.
This guide covers everything from getting into your bag properly to staying warm at 10,000 feet. I’ll share the methods that work after testing them in real conditions.
Quick Summary: To sleep comfortably in a sleeping bag, prepare your site with proper insulation, wear dry base layers, enter feet-first, manage hood and collar correctly, and use positioning techniques that match your sleep style.
Site preparation makes or breaks your night. After a particularly cold trip where I woke up shivering despite a 15-degree bag, I learned the ground steals heat through conduction faster than air through convection.
Your sleeping pad matters more than your bag’s temperature rating. An R-value of 3.0 works for most three-season camping, while winter demands 4.0 or higher. I’ve used everything from closed-cell foam pads to inflatable mattresses, and the right pad adds at least 10 degrees of warmth.
⚠️ Critical: Never skip the sleeping pad. The ground absorbs body heat 5-10 times faster than air does. Without insulation underneath, even a -20 degree bag won’t keep you warm.
Clear your site completely. One small pine cone under your hip becomes agony after three hours. I smooth the ground and remove debris before setting up my tent. For side sleepers, create a slight depression for your shoulder and hip. This small adjustment makes a huge difference in comfort.
Position your pad so you won’t roll off during the night. I’ve learned this lesson the hard way, sliding onto cold tent floors at 3 AM. If using two pads, place the foam one on top for grip.
Getting into a sleeping bag seems obvious, but most people do it wrong. After watching dozens of camping companions struggle, I realized proper entry technique prevents cold drafts and frustration.
Here’s the method that works best:
This technique prevents the bag from twisting and keeps insulation where it belongs – around your body. Twisted bags create cold spots and uncomfortable pressure points.
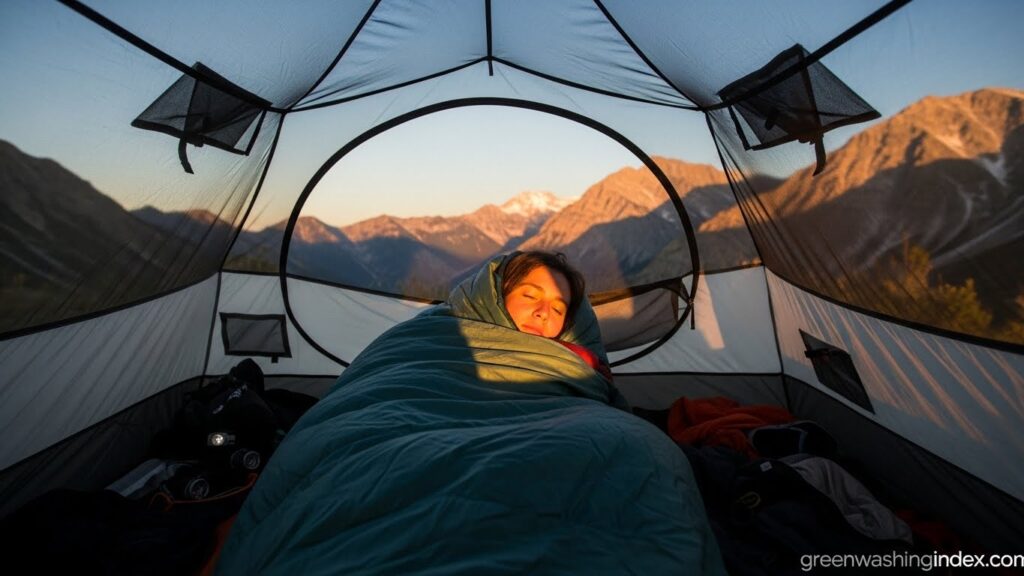
Your sleep position doesn’t have to change just because you’re camping. However, mummy bags require specific techniques for different positions. I’ve tested each extensively across various bag styles.
Side sleeping in a mummy bag is the most common complaint I hear from new campers. The tapered cut feels restrictive. But after side-sleeping hundreds of nights in mummy bags, I’ve developed techniques that make it comfortable.
First, understand that mummy bags ARE designed for side sleeping. The tapered shape matches a curled side sleeper’s body. The key is positioning:
The hood design actually favors side sleepers. When you’re on your side, the hood opening naturally faces away from drafts. I cinch it so the fabric touches my cheeks lightly without restricting breathing.
If your shoulders feel compressed, try extending one arm partially outside the bag. Many cold-weather bags have arm pockets for this exact purpose. I use this technique when the bag feels too warm but fully exiting isn’t practical.
✅ Pro Tip: Side sleepers should bring a slightly longer bag. A bag that’s 6 inches longer than your height provides room for your knees to bend without pulling the hood off your face.
Back sleeping is the most straightforward position in any sleeping bag. The insulation remains evenly distributed, and your body naturally fills the bag’s shape. This position works best for cold weather because it minimizes drafts.
Place a small pillow or stuff sack under your knees to relieve lower back pressure. Your camping pillow shouldn’t be as high as your bed pillow at home – about half the height is ideal for maintaining spine alignment.
Back sleepers can fully utilize the mummy hood. Cinch it until only your nose and mouth are exposed. Some people feel claustrophobic at first, but you’ll adjust after a few nights.
Stomach sleeping is difficult in mummy bags. You have to turn your head to breathe, which creates neck strain and often exposes your face to cold drafts. If you’re a dedicated stomach sleeper, consider a rectangular bag or quilt.
For occasional stomach sleeping, try the modified position: lie on your stomach but turn your head to the side while tucking one arm under the pillow. This creates space for your face and reduces neck strain.
Staying warm isn’t just about temperature rating – it’s about technique. I’ve slept warm in 30-degree bags at 20 degrees, and I’ve shivered in 0-degree bags at 30 degrees. The difference is how you use the bag.
Your body loses heat through four mechanisms: conduction (to the ground), convection (drafts), radiation (to cold surroundings), and evaporation (moisture). Address each type systematically:
Conduction: Heat transfer through direct contact with a cold surface. This is why sleeping pads are essential – they prevent ground from stealing body heat.
The hood and draft collar are your primary warmth tools. Most people use them incorrectly, creating cold gaps around shoulders and head.
The draft collar (the insulated tube near your neck) should be cinched tightly enough to seal warm air in but loose enough to breathe comfortably. I’ve found the sweet spot is when I can slip one finger between the collar and my neck.
For the hood, pull the drawstring until the opening forms a small circle around your face. Your nose and mouth should be the only exposed skin. The fabric should lightly touch your cheeks and forehead without creating pressure.
Empty space inside your bag is wasted energy. Your body has to heat that air, which drains warmth. I stuff extra layers around my shoulders and hips – the areas that create the largest gaps when I shift positions.
The footbox often has excess space. Fill it with tomorrow’s socks or a small dry towel. This reduces the volume your body needs to warm and keeps extremities toasty.
Before getting in, do 20 jumping jacks or run in place for 30 seconds. Don’t work up a sweat – just generate extra body heat. Then immediately zip into your bag. The trapped heat raises the interior temperature by several degrees.
On freezing nights, I boil water and pour it into a Nalgene bottle. Place it near your feet (wrapped in a sock to prevent burns). This radiates heat for 3-4 hours and makes a noticeable difference.
The question of whether to sleep naked or clothed sparks endless debates around campfires. After years of testing both approaches in various conditions, here’s what actually works.
Wear dry base layers – that’s the expert consensus. Sleeping naked doesn’t keep you warmer because moisture evaporates from your skin more rapidly without fabric. This evaporative cooling defeats the purpose of insulation.
The ideal system consists of:
Avoid cotton entirely. Even trace cotton content causes problems when it gets damp. I learned this on a trip when my 5% cotton socks left me with frozen toes despite a warm bag.
More layers don’t equal more warmth. Overdressing causes sweating, and moisture destroys insulation effectiveness. I’ve been warmest wearing just one thin base layer in a 20-degree bag.
The rule: wear enough to be comfortable WITHOUT the bag, then rely on the bag for primary insulation. If you’re wearing everything you brought, something’s wrong with your bag selection.
Exception: Wear your puffy jacket if you’re trying to extend a bag’s comfort rating by 5-10 degrees. But accept that you’ll have reduced mobility and potential condensation issues.
Cold feet make you feel cold everywhere. I change into dedicated sleeping socks before bed, regardless of how tired I am. They stay in a dry bag all day, specifically for nighttime use.
For hands, keep them inside the bag rather than wearing gloves. Your body heat circulates more effectively, and you won’t accidentally expose bare skin if a hand escapes the bag.
Your sleeping system includes more than just the bag. Understanding how components work together transforms your sleep quality.
Sleeping pads prevent ground heat loss through conduction. The ground absorbs body heat relentlessly, and without a pad, your bag’s insulation compresses against the cold earth, rendering it ineffective.
Sleeping pads for insulation use R-value to measure thermal resistance. An R-value of 1.0 works for warm summer camping, 2.0-3.0 handles three-season use, and 4.0+ is necessary for winter conditions.
I’ve found that combining a thin closed-cell foam pad under an inflatable pad increases warmth significantly. The foam provides backup insulation if the inflatable pad fails and adds crucial R-value for winter camping.
Bag liners add 5-15 degrees of warmth depending on material. They also keep your bag cleaner, extending the time between washes. I use a thin silk liner in summer and a fleece liner for shoulder season trips.
Liners work by trapping a layer of warm air next to your body and creating an additional barrier against drafts. They’re worth the weight if you’re trying to extend a bag’s range or if you run cold.
Temperature ratings follow the EN/ISO 13537 standard, which provides two numbers: Comfort (the temperature at which a standard woman will sleep comfortably) and Lower Limit (the temperature at which a standard man will sleep comfortably).
The Comfort rating is more realistic for most people. If you’re a cold sleeper, female, or older, add 5-10 degrees to the Lower Limit rating. I always choose bags rated 10 degrees below my expected conditions – it’s better to unzip a vent than shiver all night.
Even with proper technique, issues arise. Here are solutions to the most common problems I’ve encountered over years of camping.
If you’re cold despite adequate gear, check these issues in order:
The most common cause I see? Inadequate ground insulation. People obsess over bag temperature rating but sleep on a thin pad. I’d rather use a 30-degree bag on a good pad than a 0-degree bag on poor insulation.
Claustrophobia in mummy bags is real and valid. If you feel trapped, try these adjustments:
I’ve seen people adapt over 2-3 trips as they get used to the confinement. Don’t give up immediately – your brain adjusts to the sensation.
Internal moisture accumulates from breathing and perspiration. This reduces insulation effectiveness and can make you colder. To minimize condensation:
Internal condensation is inevitable on multi-day trips. Accept some moisture and focus on managing rather than eliminating it completely.
Cold feet make for miserable nights. Beyond changing into dedicated sleeping socks:
I’ve used all these methods, and combining dedicated socks with dead air space elimination works best. The hot water bottle trick is also highly effective for foot warmth.
If you consistently wake up off your pad, try these solutions:
Some people attach their bag to the pad using Velcro straps. This is overkill for most but works for dedicated thrashers. I’ve found that proper site selection eliminates 90% of pad-rolling issues.
The right bag makes everything easier. If you’re still struggling with comfort or warmth, your gear might be the issue rather than your technique.
The best backpacking sleeping bags balance weight, warmth, and comfort. Consider your typical conditions, sleep temperature preference, and body type when selecting.
Side sleepers should look for bags with articulated hoods and slightly wider shoulder girth. Women often prefer women-specific bags with extra insulation at the feet and torso. Cold sleepers should choose bags rated 10-15 degrees below expected conditions.
For complete camping gear essentials, ensure your entire sleep system works together. Your bag, pad, and shelter form an integrated system where each component affects the others.
If you’re a car camper who can’t adapt to mummy bags, camping blankets and rectangular bags offer alternatives that prioritize comfort over weight savings.
Yes, wearing dry base layers in a sleeping bag keeps you warmer than sleeping naked. The fabric traps a layer of warm air against your skin and reduces evaporative cooling. Choose moisture-wicking materials like merino wool or synthetic fabrics, and never wear the clothes you hiked in to bed.
Wear clean, dry base layers consisting of a lightweight long-sleeve top and long underwear bottoms. Add dedicated sleeping socks and optionally a thin beanie. Avoid cotton entirely, and don’t wear the clothes you wore during the day. One thin base layer is usually optimal – overdressing causes sweating which makes you colder.
A sleeping pad is essential under every sleeping bag. The pad provides insulation from ground cold through conduction, which is actually the primary source of heat loss while sleeping. Choose a pad with appropriate R-value: 1-2 for summer, 2-3 for three-season, and 4+ for winter camping. Without a pad, even the warmest bag won’t keep you comfortable.
To stay warm, ensure proper ground insulation with an adequate sleeping pad, wear dry base layers, cinch the hood and draft collar correctly, fill dead air space with extra clothes, and pre-warm the bag with body heat or a hot water bottle. Don’t overdress to the point of sweating, as moisture destroys insulation. Eat before bed to fuel your body’s heat production.
Zip your sleeping bag completely in cold conditions to prevent drafts and maintain warmth. In warm weather or if you feel overheated, unzip from the bottom for ventilation rather than leaving the top open – this keeps the hood sealed while allowing cooler air in near your feet. Partial zipping is better than full unzipping for temperature regulation.
Most cold sleeping issues stem from inadequate ground insulation. Check that your pad has sufficient R-value and you’re lying fully on it. Other causes include damp clothing, drafts from poorly sealed hoods, sleeping in clothes you sweated in, and undereating before bed. Women and cold sleepers should choose bags rated 10-15 degrees below expected conditions.
Sleeping comfortably in a sleeping bag is a skill anyone can learn. Focus on proper site preparation, correct entry technique, appropriate clothing, and temperature management. These fundamentals work regardless of your gear or conditions.
Practice at home before your trip. Spend 30 minutes in your bag testing different positions and hood adjustments. This familiarity builds confidence and prevents first-night frustration on the trail.
Remember that gear matters less than technique. I’ve slept warm in basic bags using proper methods, and I’ve shivered in expensive gear due to mistakes. Master these fundamentals and you’ll sleep well anywhere.
The best sleeping bag is the one you know how to use. Take the time to understand your equipment, practice these techniques, and adjust based on your personal preferences. Your backcountry sleep will transform from miserable to restful.